Prehab for Police Officers
Warning: this is the most boring article you will read this week.
Straight up. I am going to talk about some super simple, straightforward NON-ground breaking stuff... It isn't the most exciting. BUT.... if you take what you read to heart and actually USE IT you can significantly decrease your chance of injury or even address some of the injuries you may already have.
I have already written about WHY so many cops get back pain and how they should train to maximize their performance. I highly recommend checking those articles out.
The focus of this article is teaching 'Spine Sparing' strategies. These strategies will help you learn to use your shoulders and hip properly, instead of your back.
Bracing
Everything I am going to cover in this article is dependent on an understanding of what it means to effectively brace. A strong and stable trunk is where we get all of our power.
How to Brace:
While standing with your feet shoulder-width apart, squeeze your butt as tight as you can.
Take a big breath in thru your nose
Blow the air out thru pursed lips (try to blow out a candle across the room), while pulling your ribcage down.
While keeping your ribcage down and your tummy tight, continue to breathe into your abdomen.
You should be able to maintain the tension in your abdomen while moving and prevent your rib cage from flaring up. Make sure you brace before doing any of the exercises described below. The goal is controlled, full range of motion movement without changing your trunk position.
The same principles apply, regardless of position. You should be able to brace regardless if you are standing, face down or side-laying.
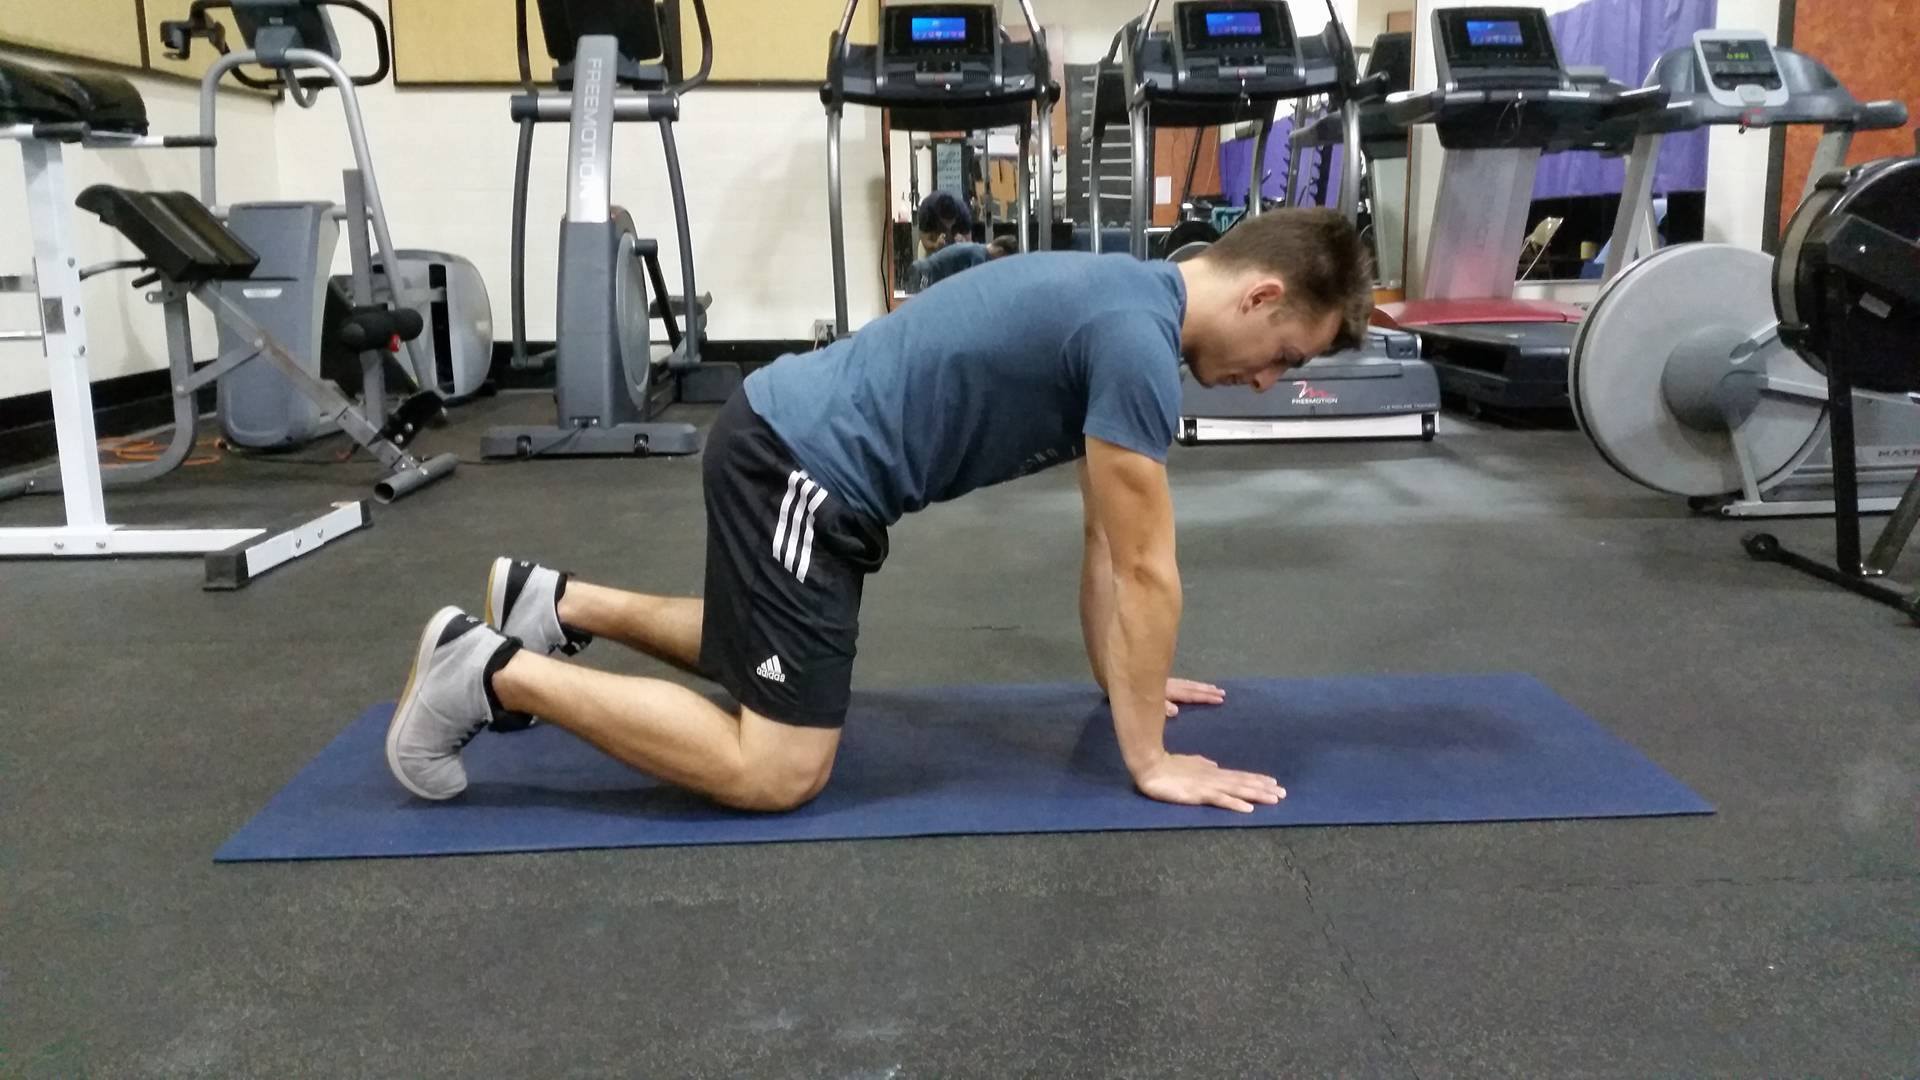
Bird Dog
The Bird Dog and the Dead Bug are essentially two sides of the same coin. They challenge your ability to move your limbs without compensating by using your back and torso. If you are able to perform them both efficiently it will go a long way in making you more resilient to back pain and injury.
Start with your shoulders stacked above your hands and hips stacked above your knees.
Brace.
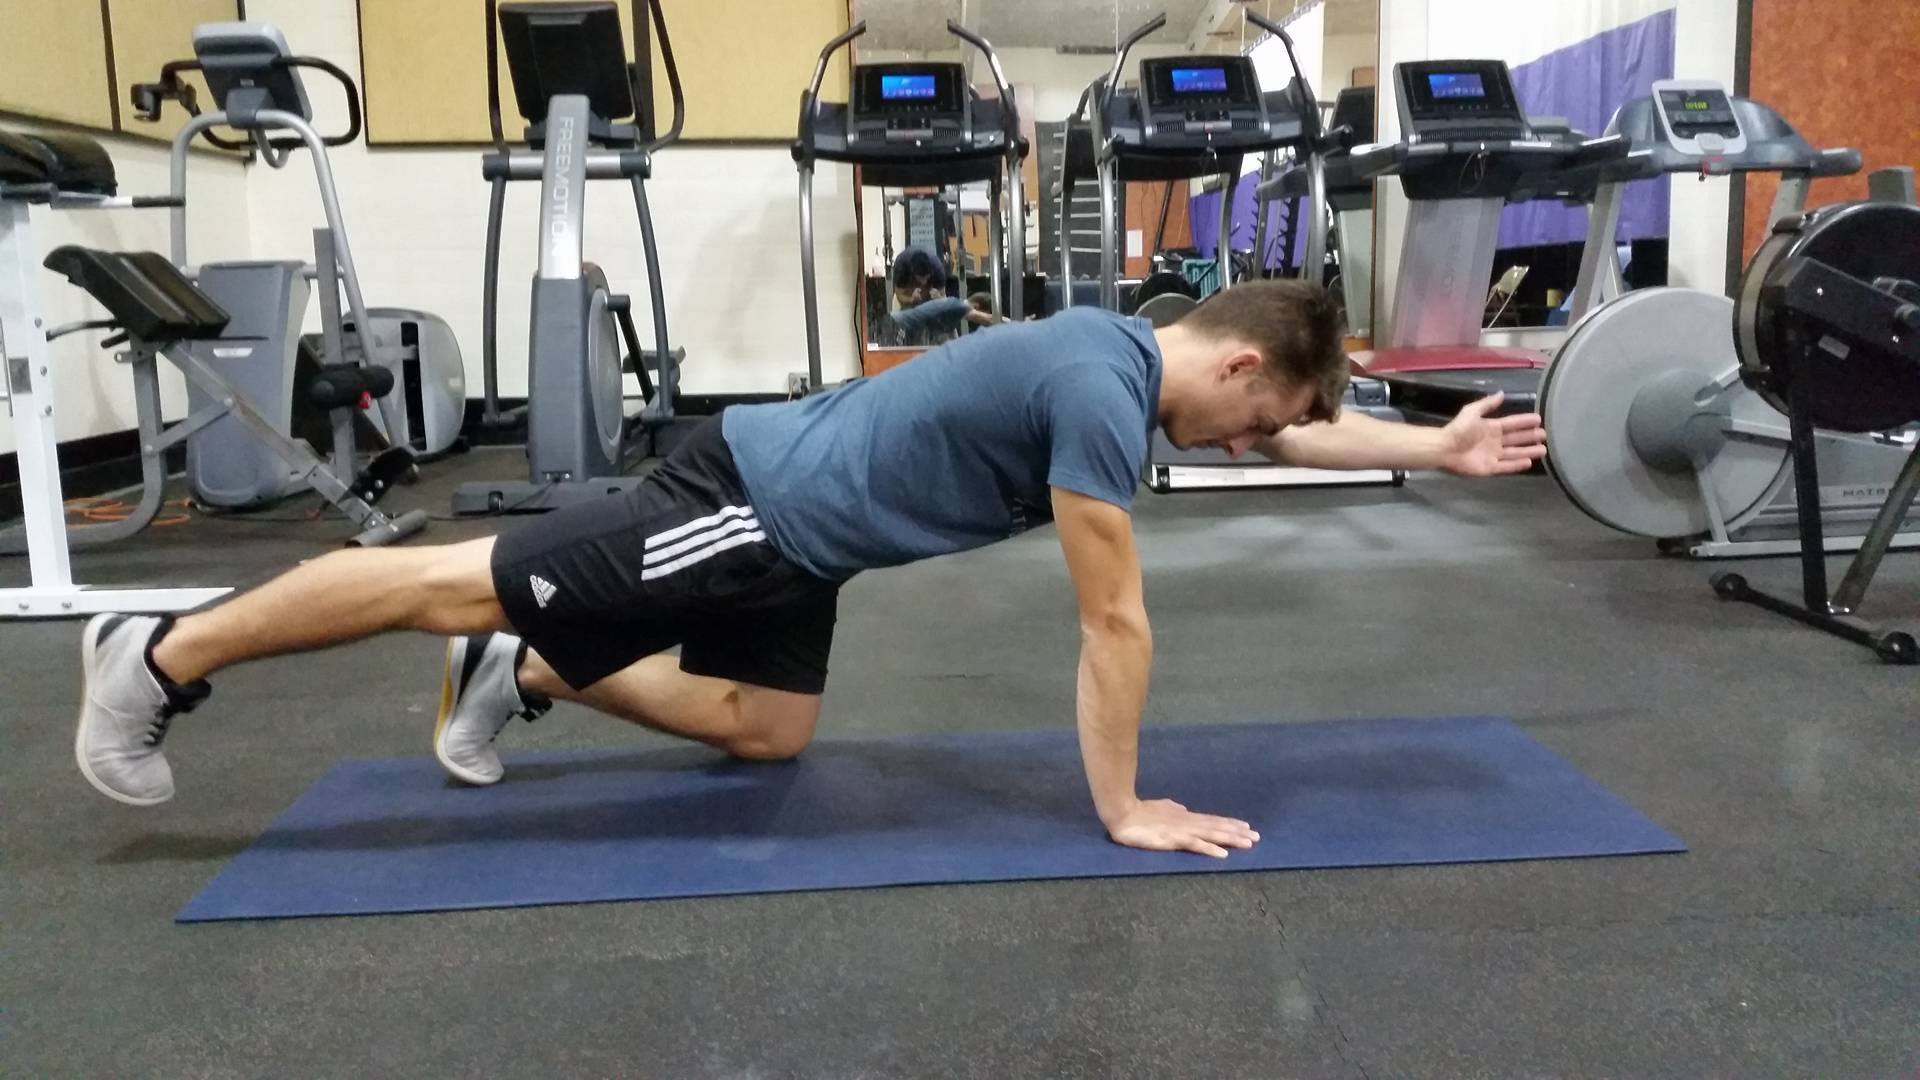
Move one limb at a time away from the ground and your torso. Focus on 'reaching' instead of 'lifting.'
Replace the limb beneath you without breaking form.
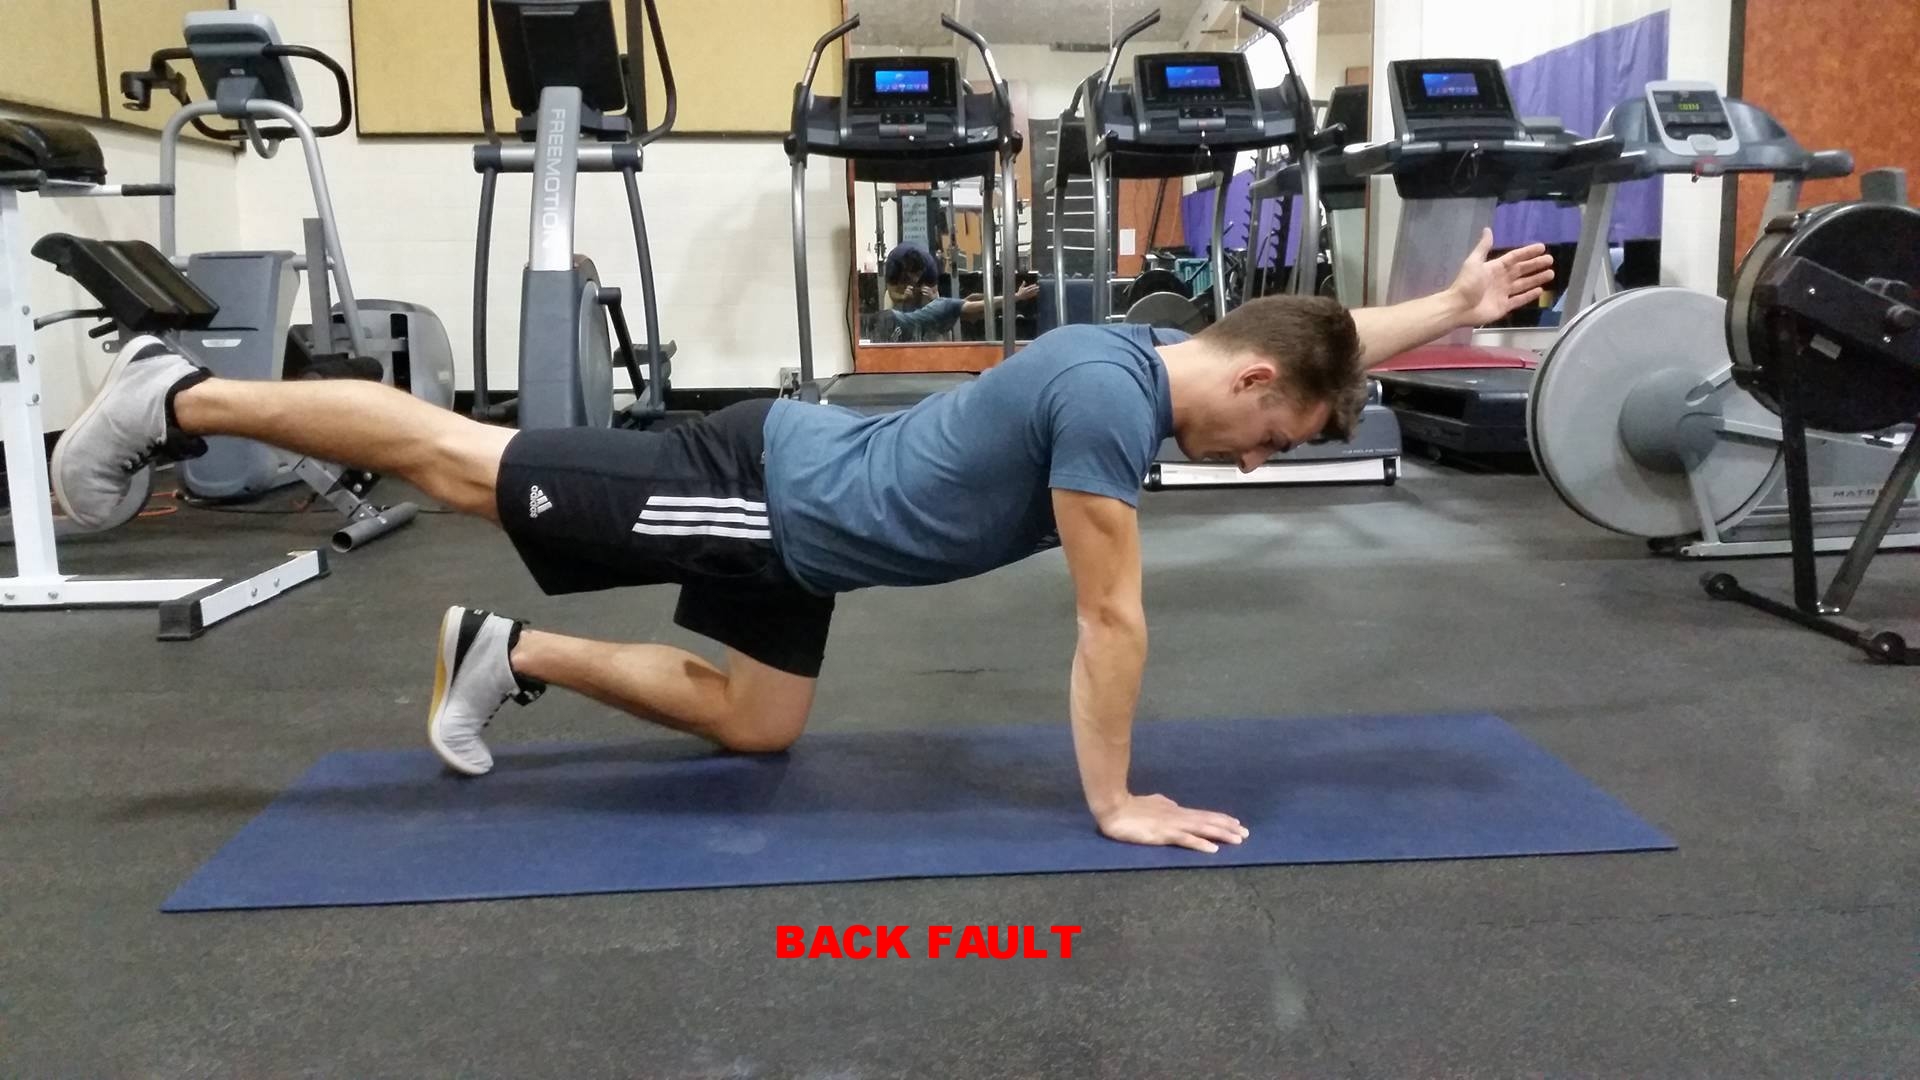
You can make the exercise harder by raising an arm and the opposite leg or adding movement at the outstretched position (e.g. draw the alphabet with your big toe).

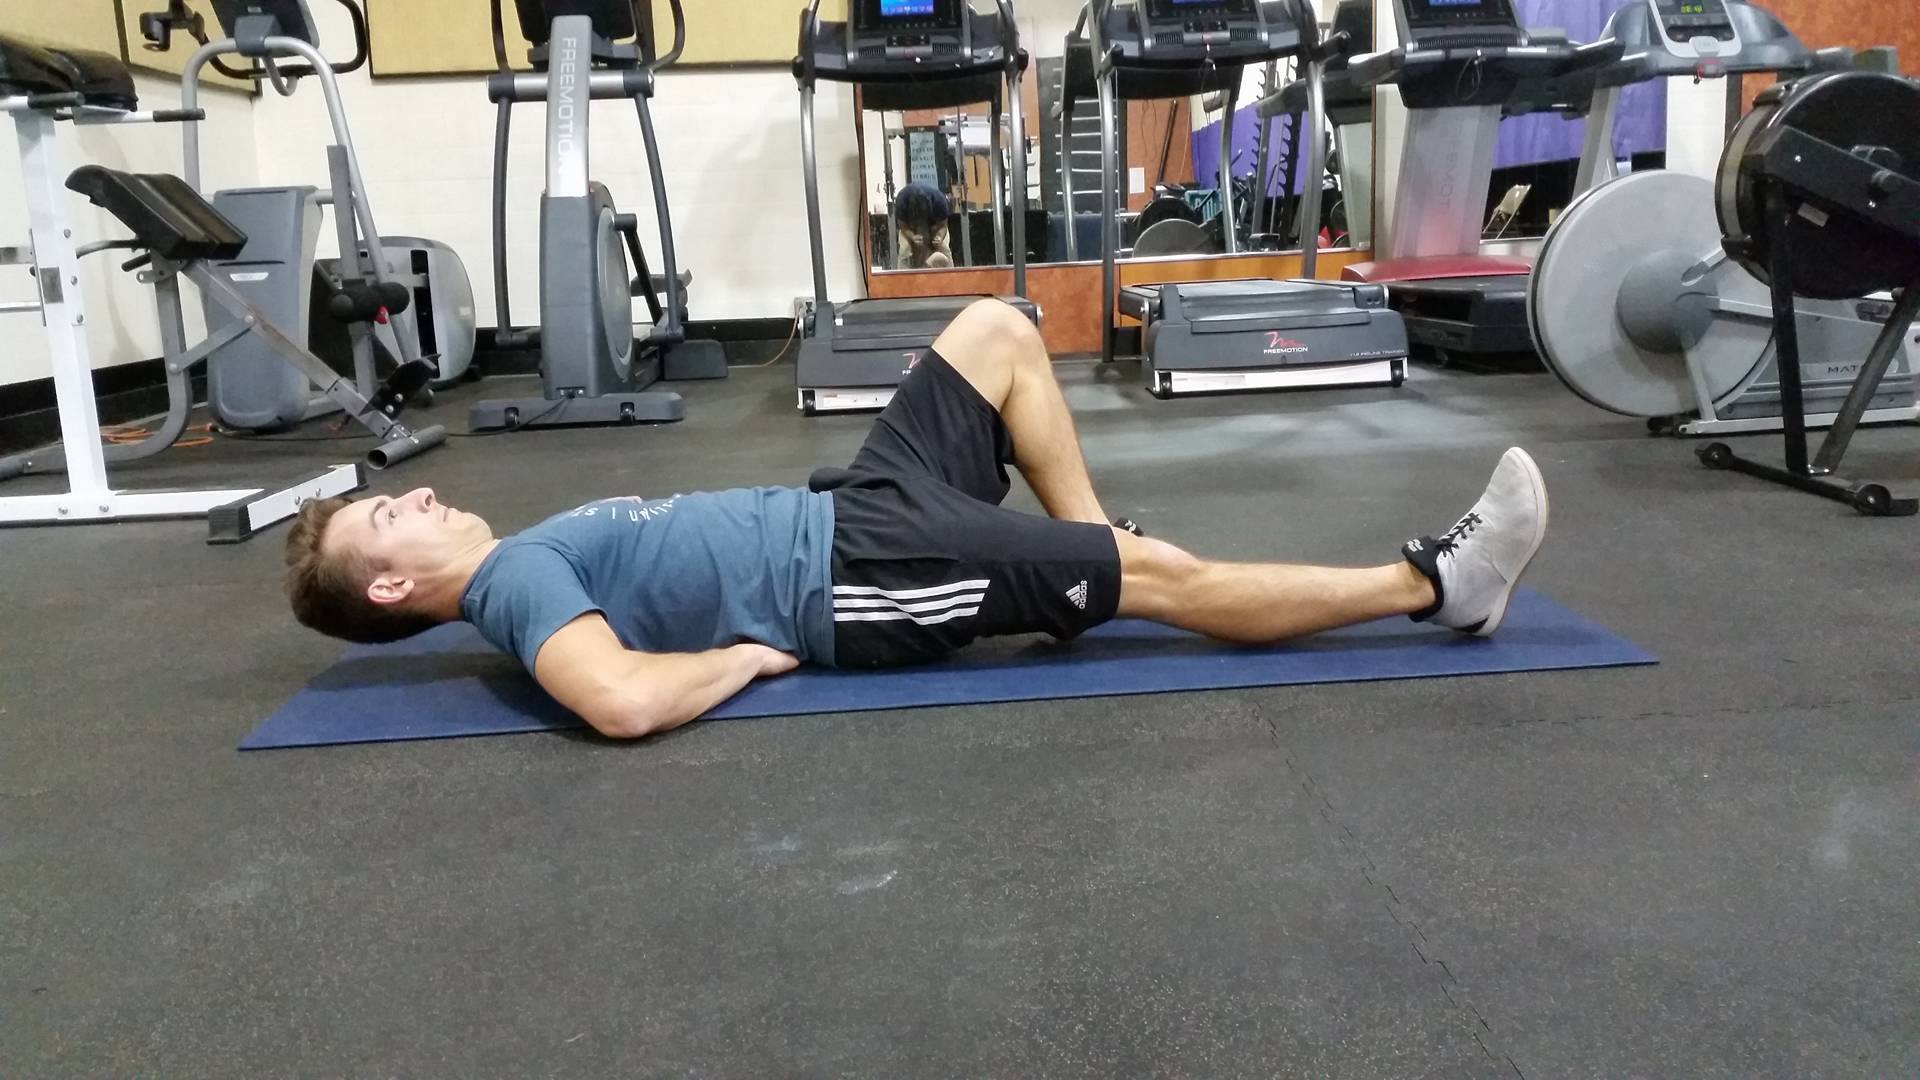
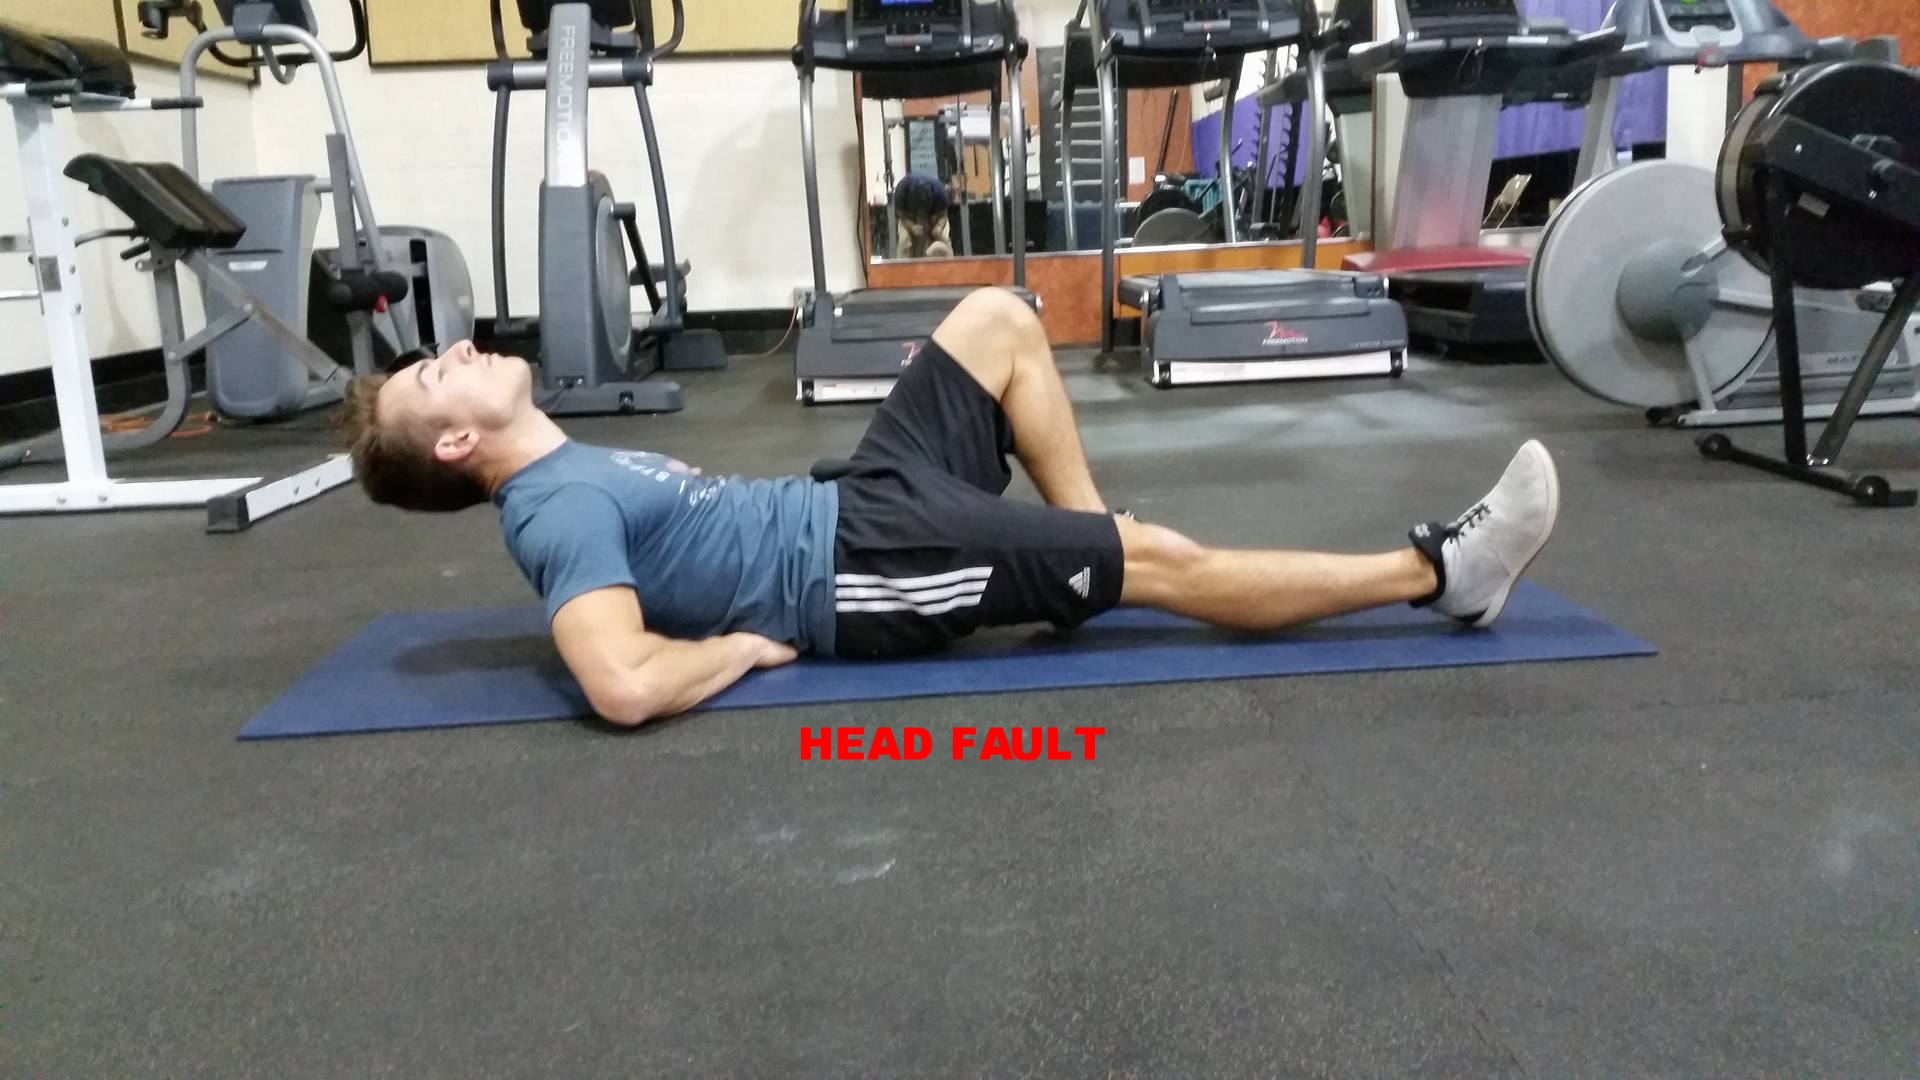
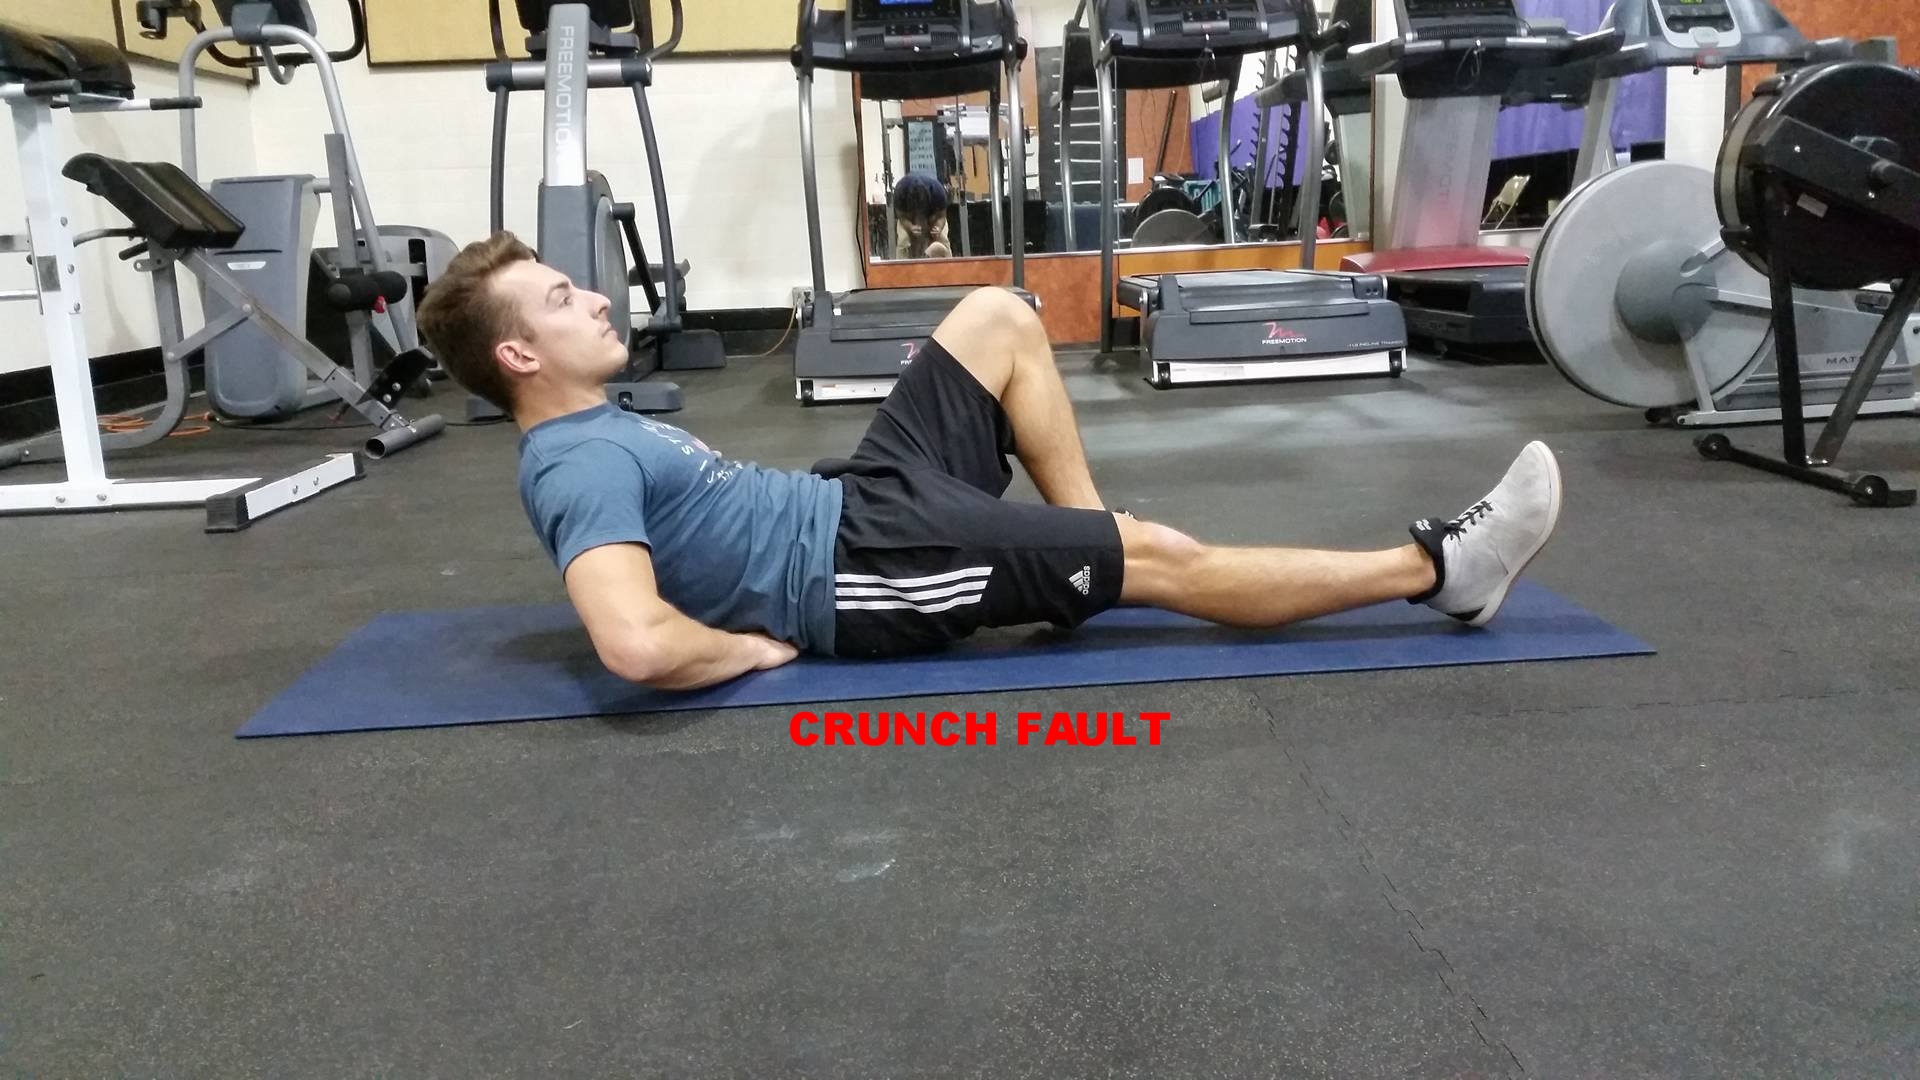
McGill Curl Up
Popularized by Dr. Stu McGill, a world renowned spine researcher, the Curl Up has become a staple among spine stabilization training programs. It doesn't look like much, but when done correctly it will light up your core and teach trunk stiffness.
Lay on your back with your hands placed, palm down, under your low back. Keep one leg fully extended while the other is bent with your heel close to your glutes (i.e. butt cheek).
Brace, press your tongue to the roof of your mouth and tuck your chin slightly.
Raise off the ground a couple of cm. DO NOT curl up into a full crunch.
Hold for 10s MAX.
Rest and repeat.

You can repeat this exercise for repetitions, but never increase the amount of time of a single rep. The purpose is to add stiffness to your trunk by engaging the proper musculature. Trust me, even after a few reps of 10s you will be shaking.
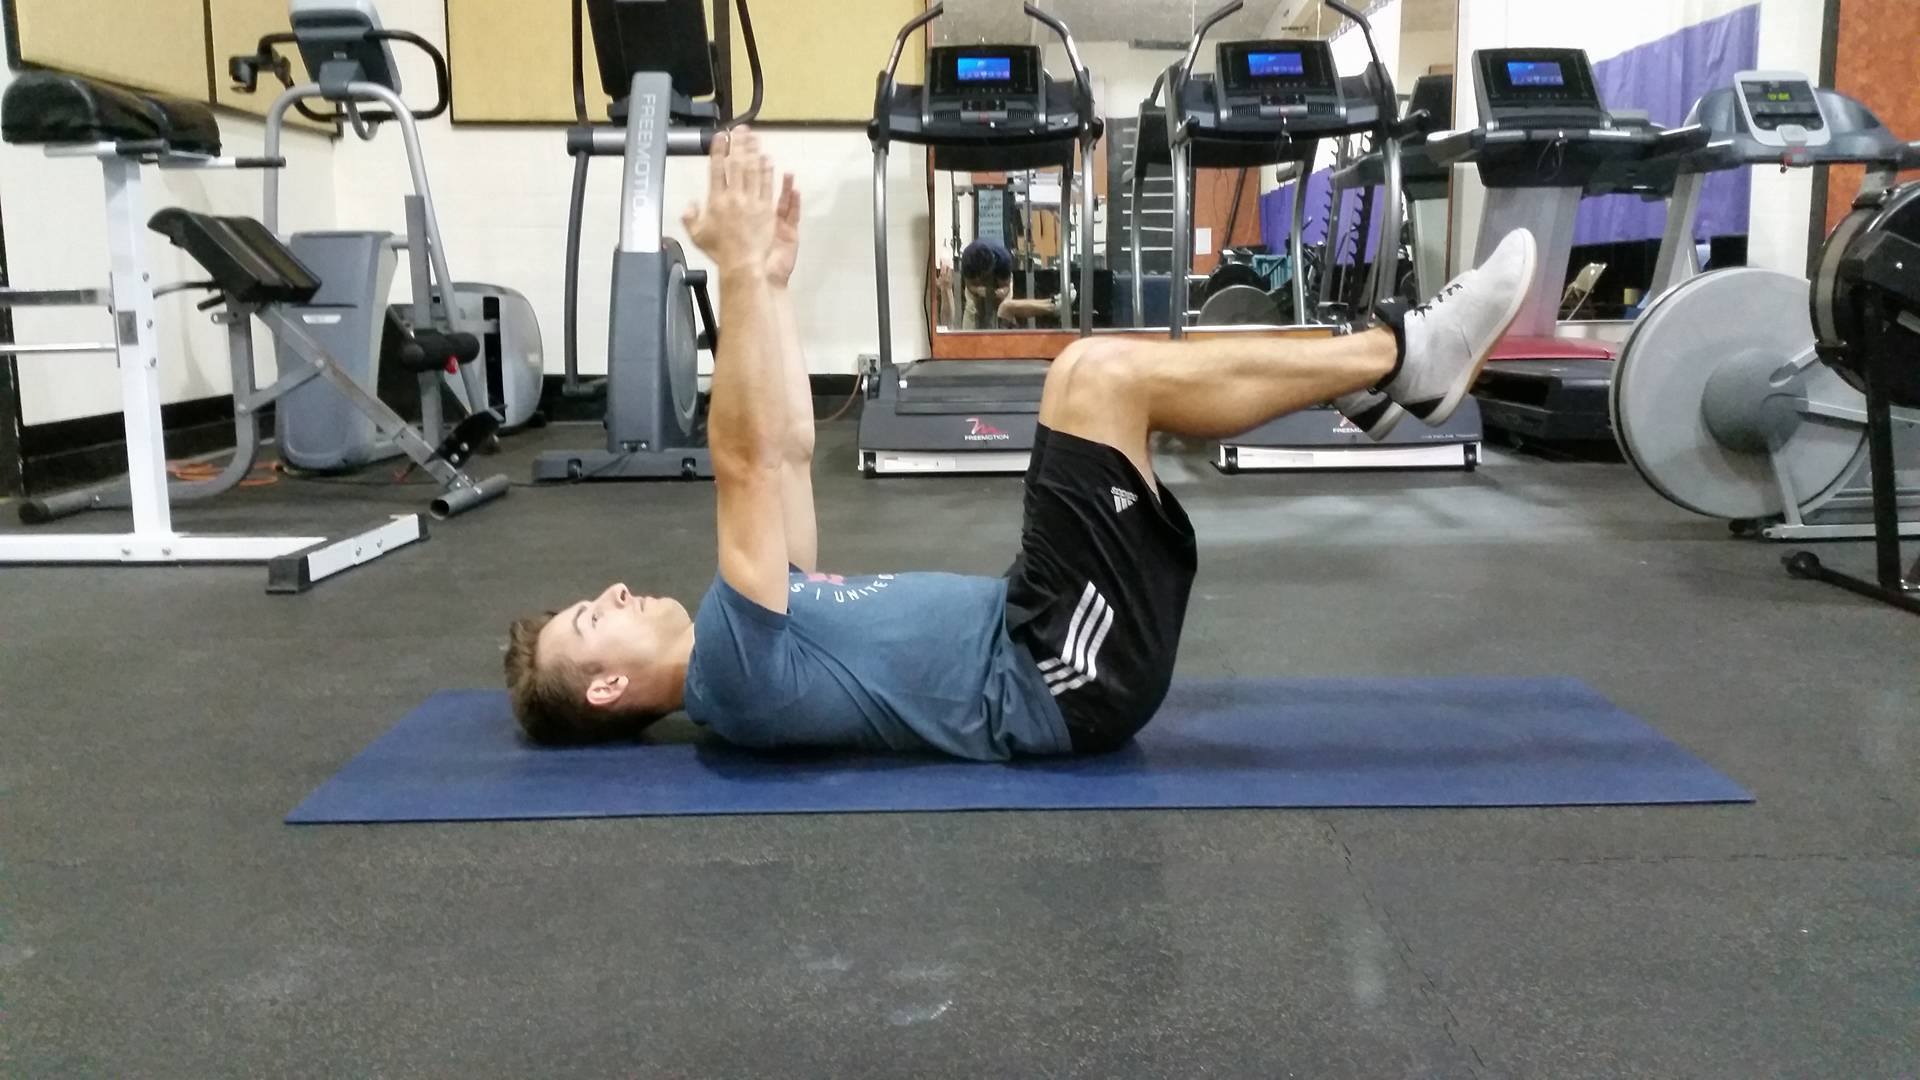
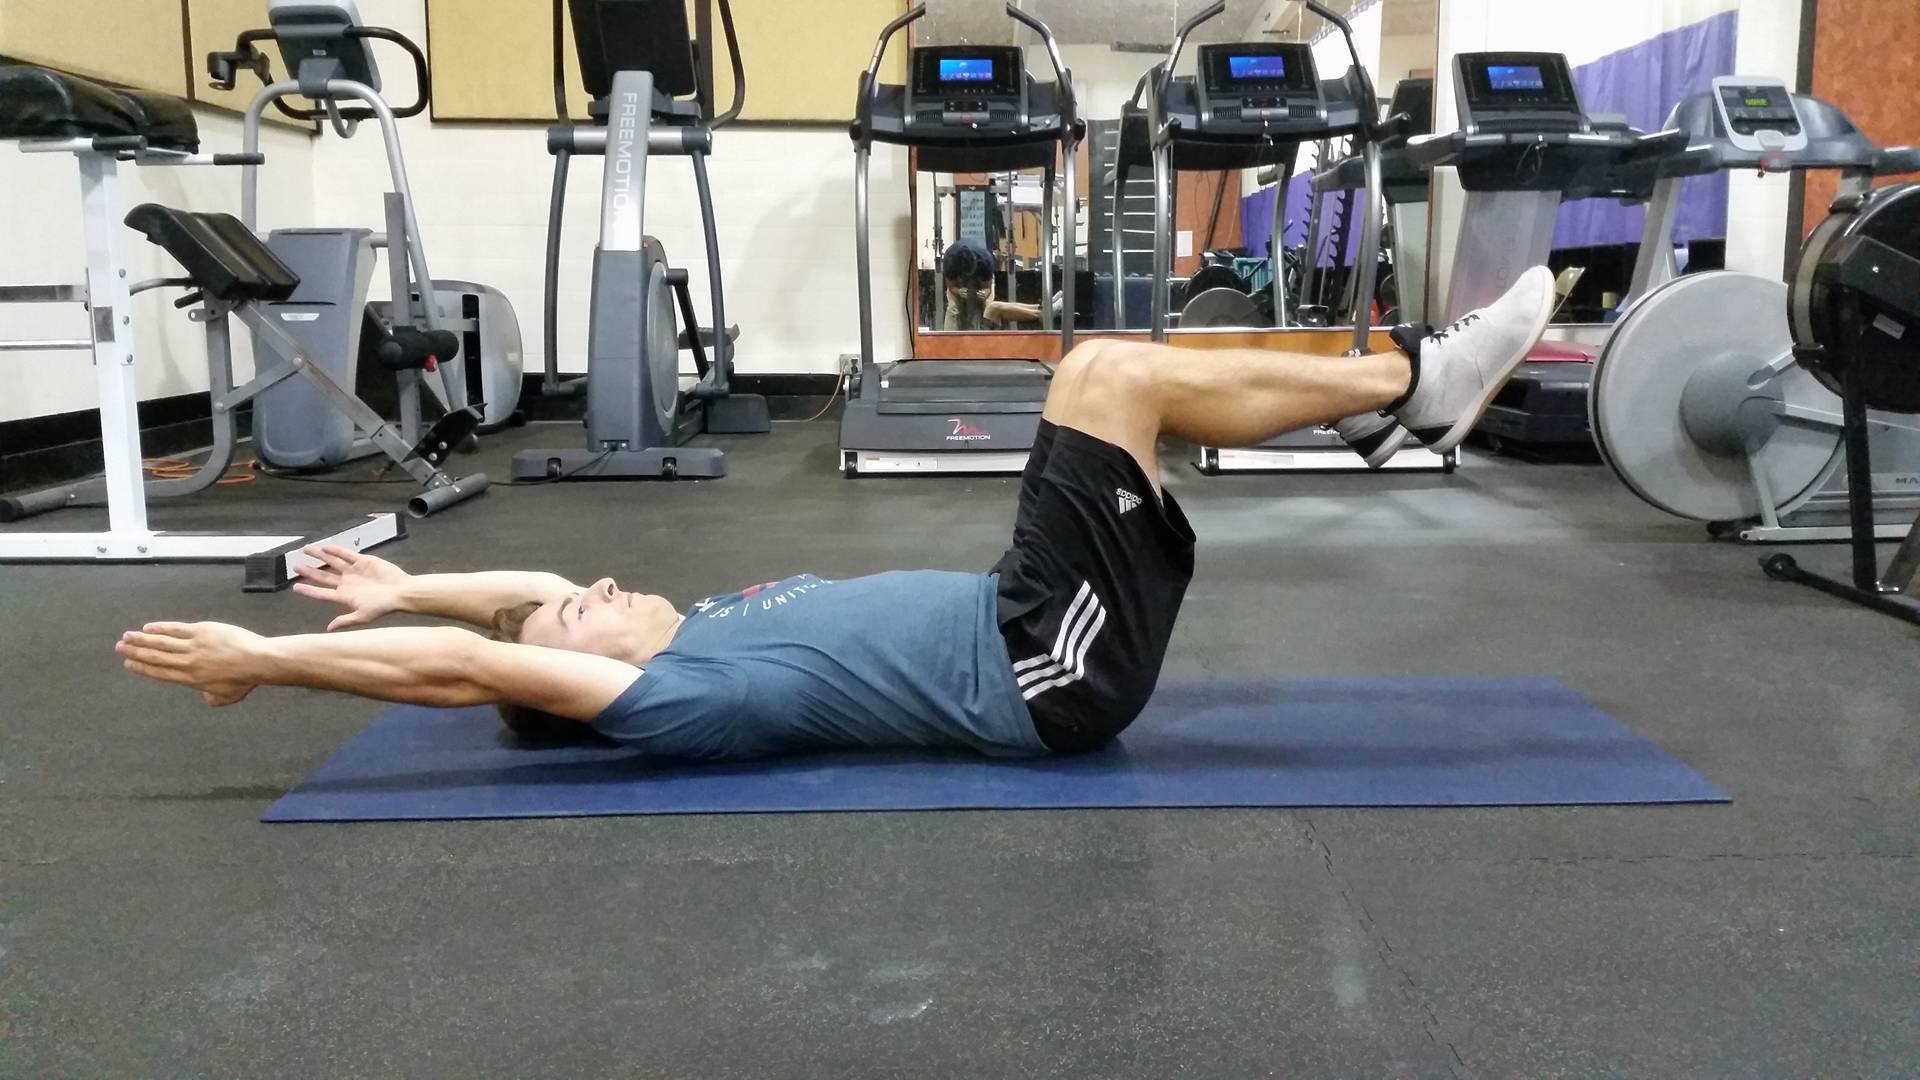
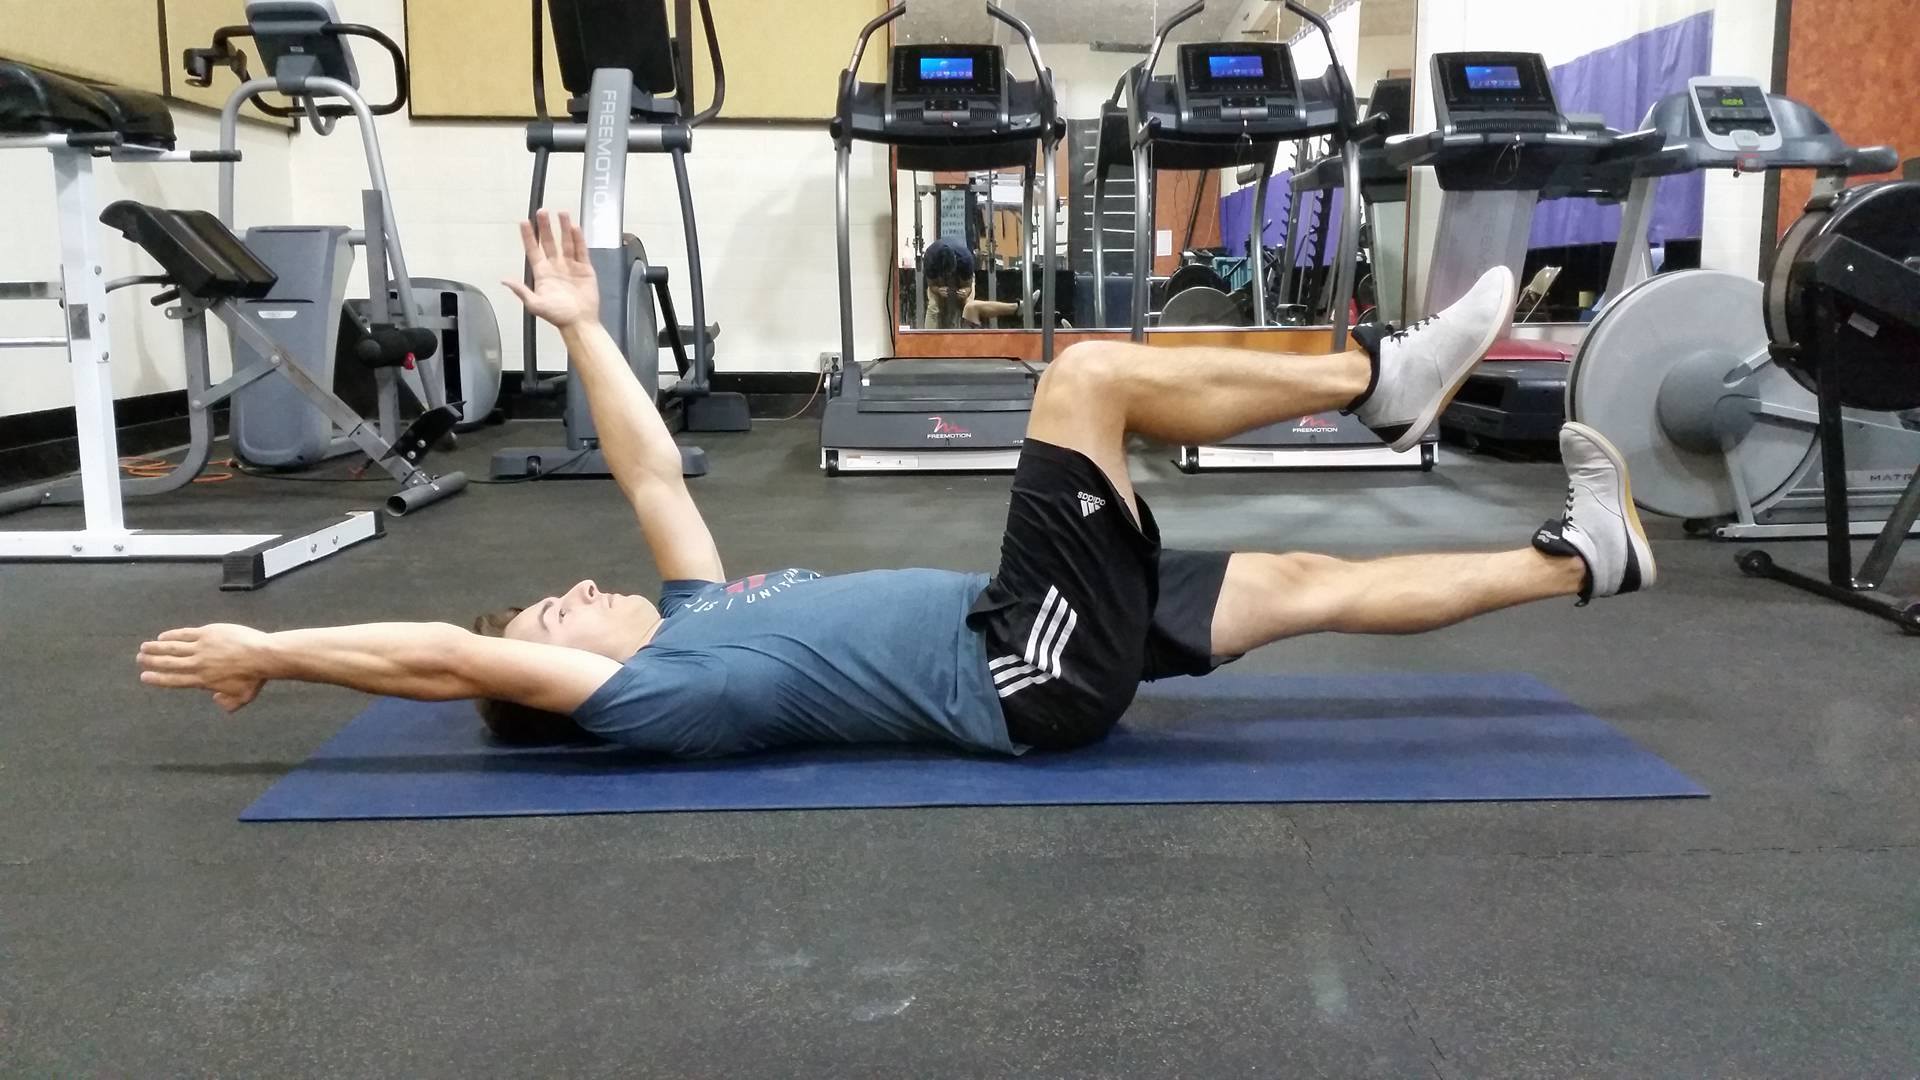
Dead Bug
Imagine a Bird Dog, but you are flipped on your back. The Dead Bug is also going to challenge your ability to maintain a stiff torso, but this time it is going to challenge it in the opposite direction. You need to be able to prevent yourself from going into spinal extension if you are going to do the Dead Bug correctly.
Lay on your back with your knees, hips, and shoulders bent at 90-degree angles.
Brace.
Move one limb at a time away from center.
Replace the limb above you without breaking form.
You can make the exercise harder by moving an arm and the opposite leg, both arms or both legs.
If you start to shake at any time, spend some time on the progression that caused you to shake. It is usually a sign of instability and some work in that position will improve it.
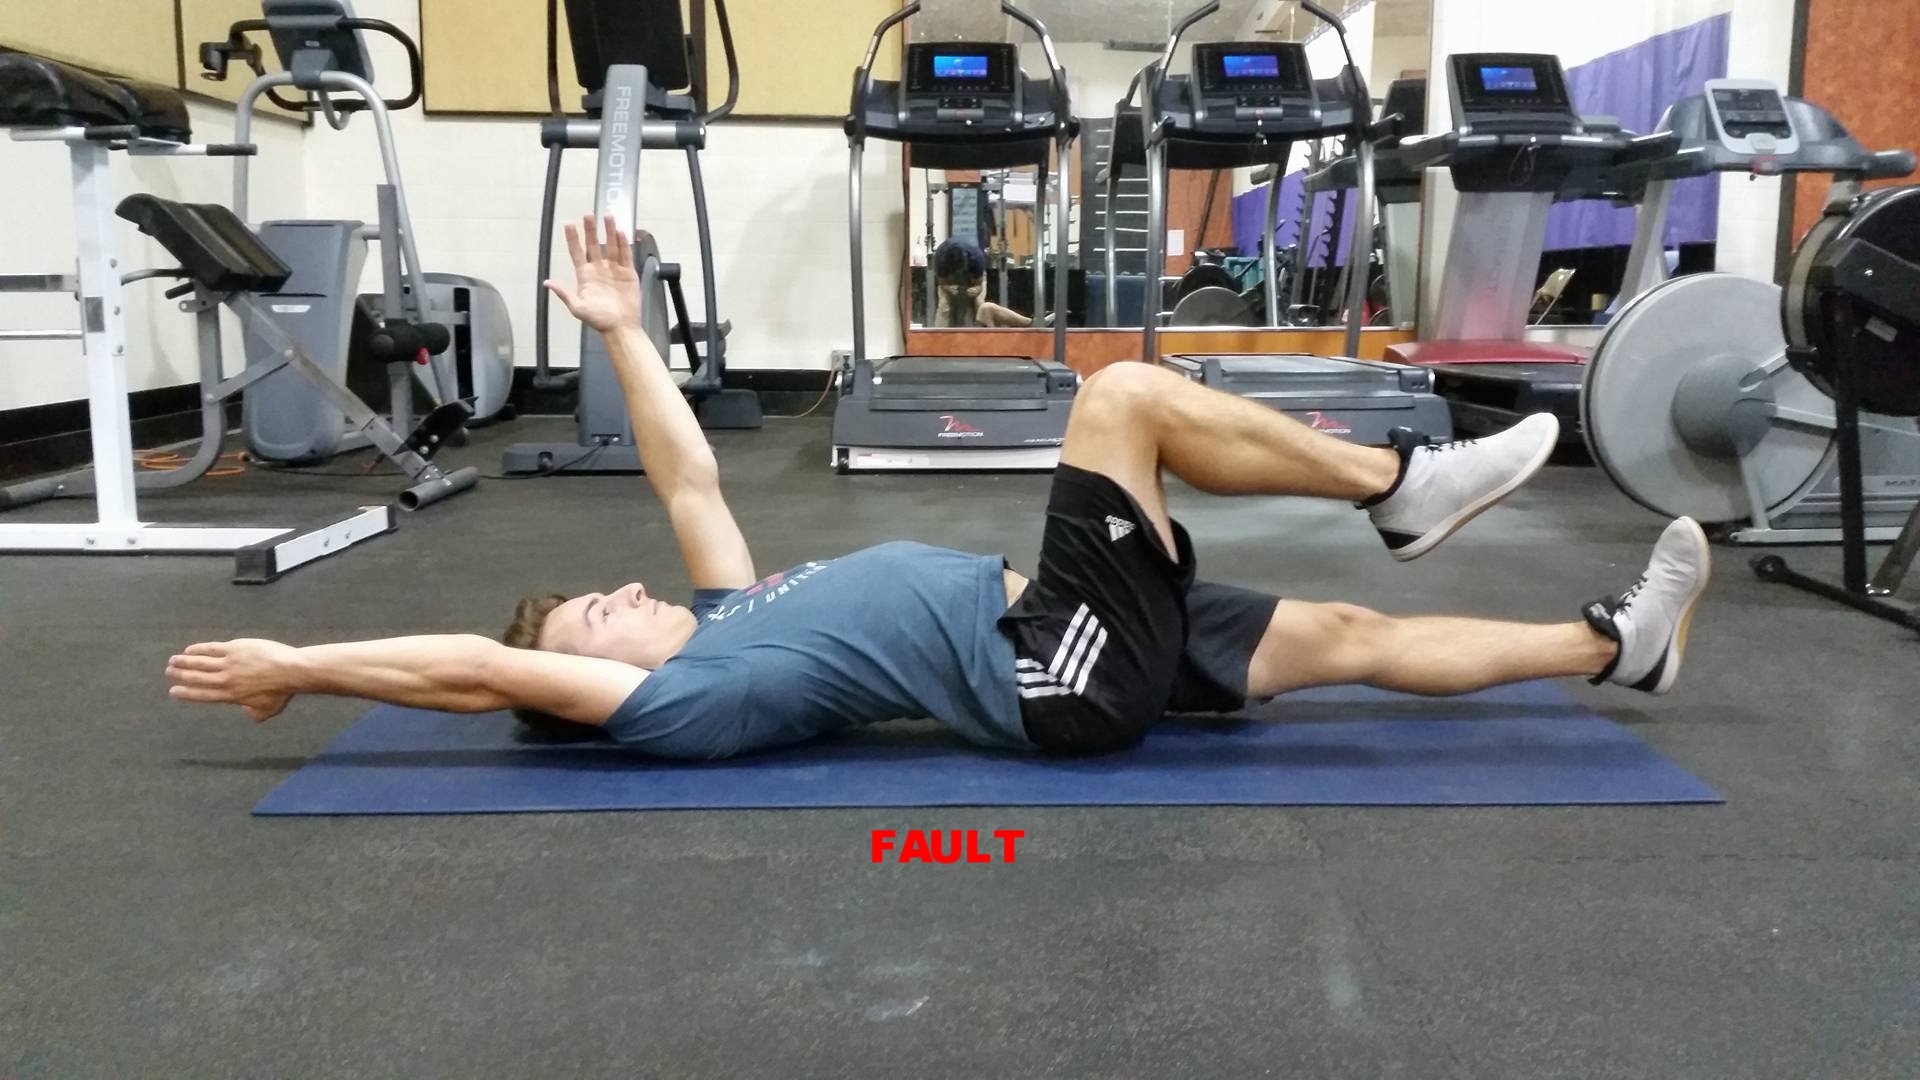
FAULTS: any time you change your spinal position is considered a fault. The most emphasized aspect of this movement is to control the position of your back/spine.
REMEMBER TO BREATHE! You should still be able to breathe normally while braced in this position. If you are holding your breath, it is likely because the variation is challenging. Take note of that and notice how that changes over time as you improve.
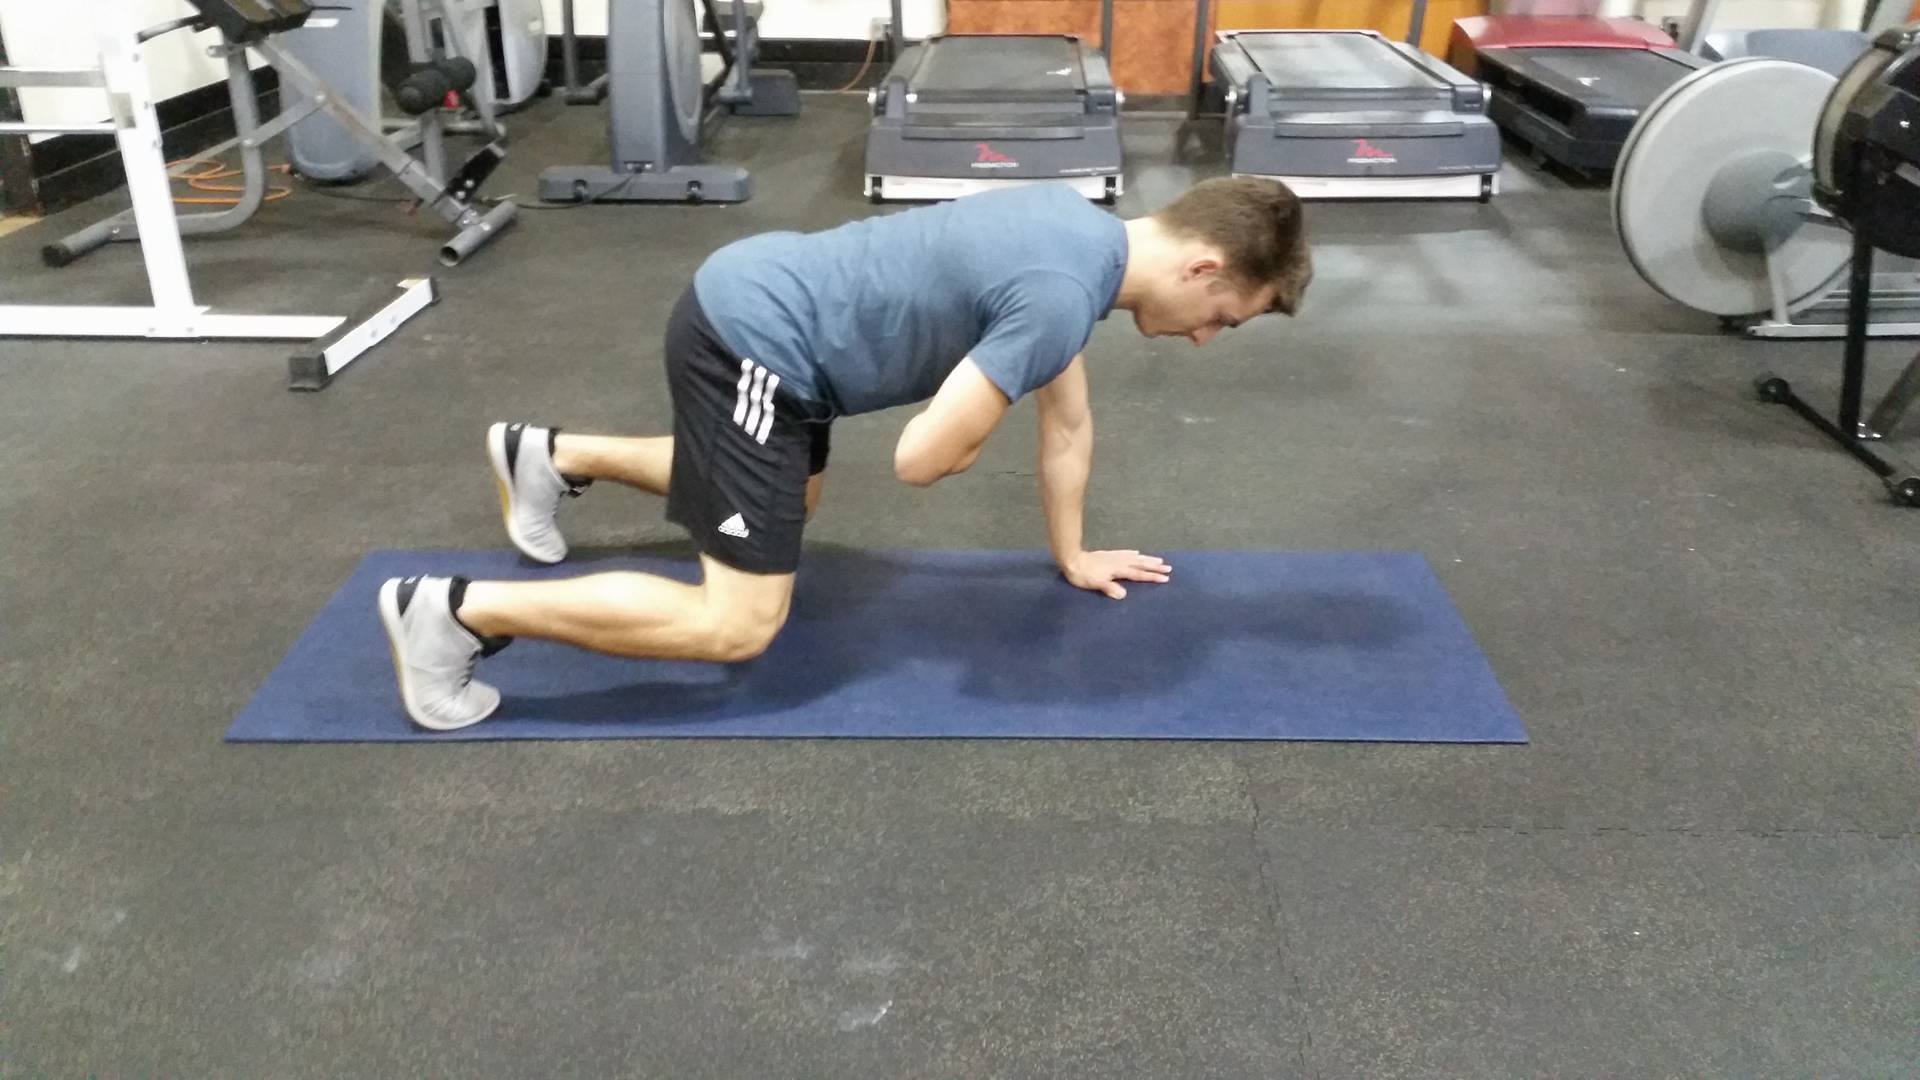
Low Bear: Torsional Buttress
The Low Bear and its associated crawling patterns are some of my favourite tools for training rotational stability. It is simple to understand, but challenging to complete correctly.
While moving in the Low Bear position, gravity is trying to pull any part of your body that is unsupported towards the ground. This creates a rotational force that you must be able to resist if you are going to prevent yourself from twisting or falling.
Start with your shoulders stacked over your hands and your hips stable over your knees.
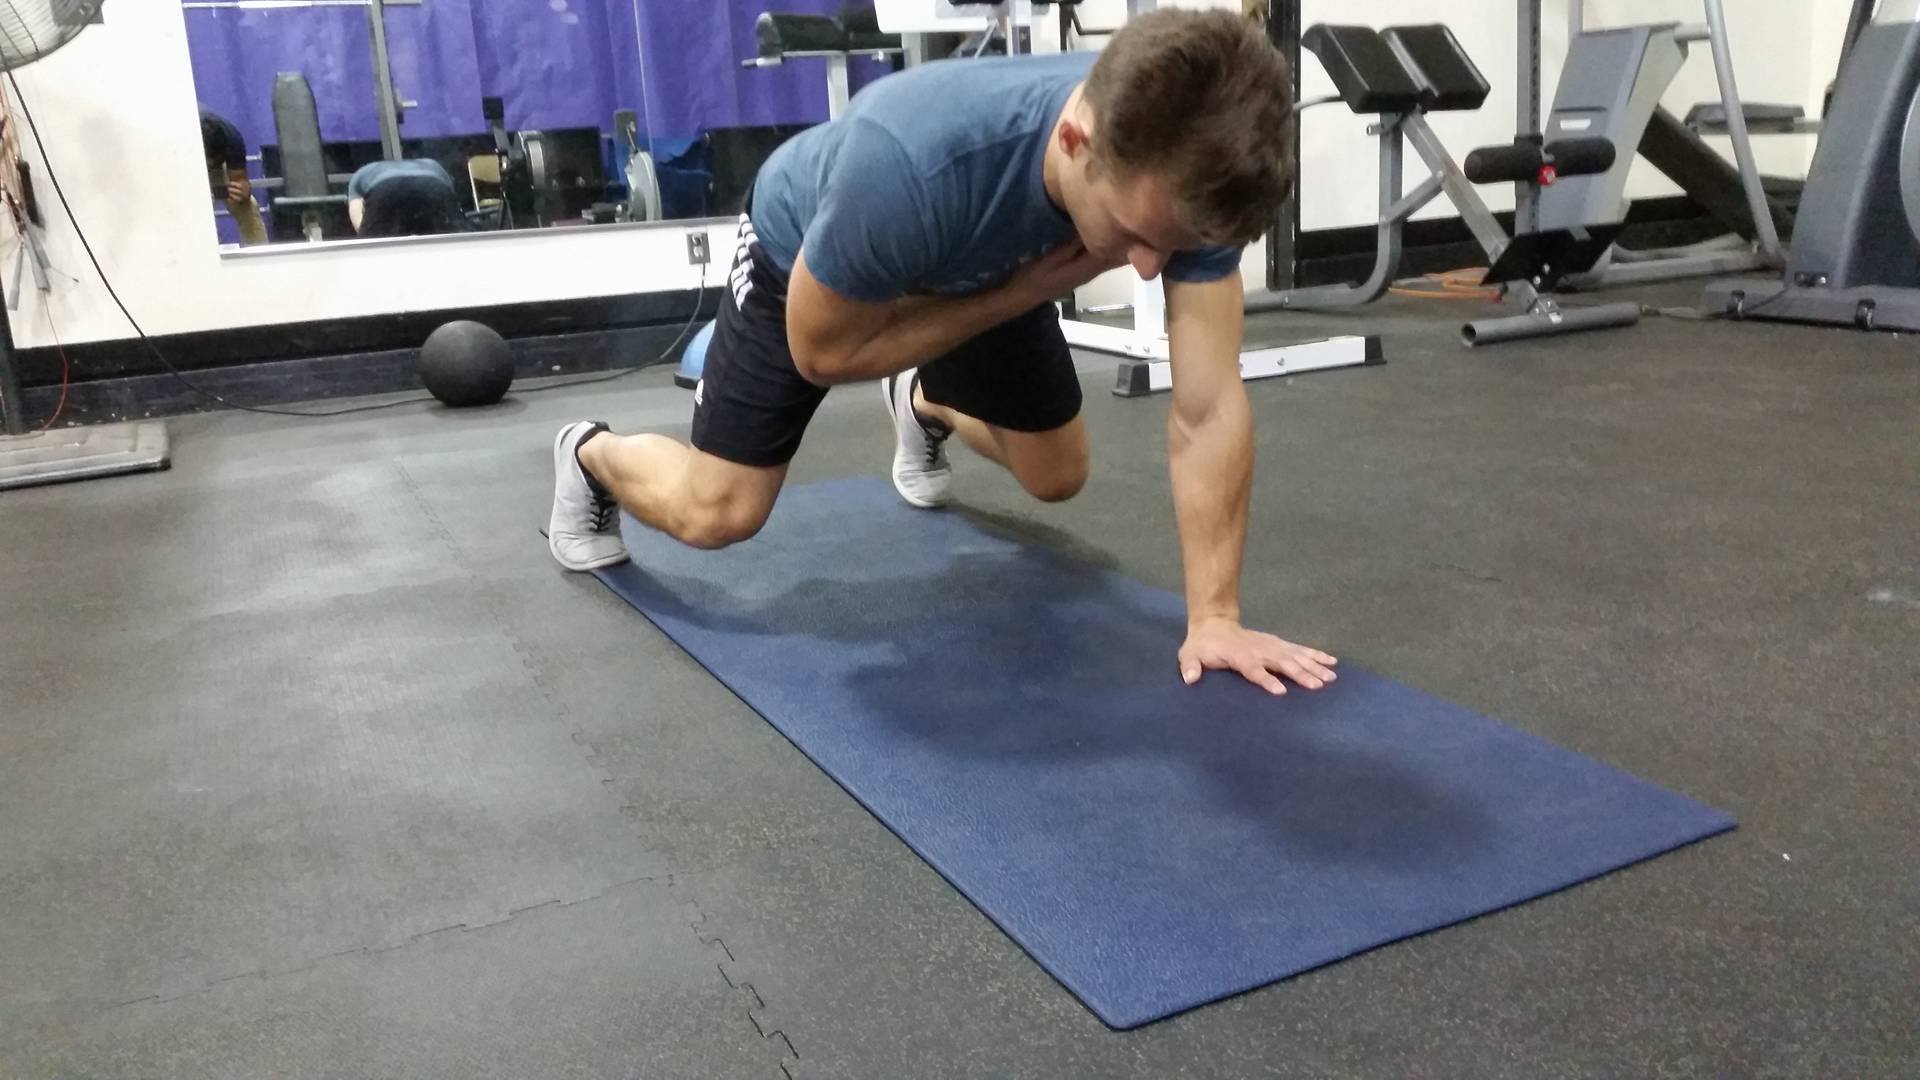
While keeping 3 points of contact, lift one arm to touch the opposite shoulder/chest.
Your chest muscles should be relaxed when you touch them
Replace your hand and switch sides
Try to lift one leg off of the ground without twisting (still maintaining 3 points of contact).
CRAWLING: you can add crawling to make this movement even hard by using your opposite hands and feet to move forward simultaneously. The emphasis is still the same: avoid twisting or collapsing.

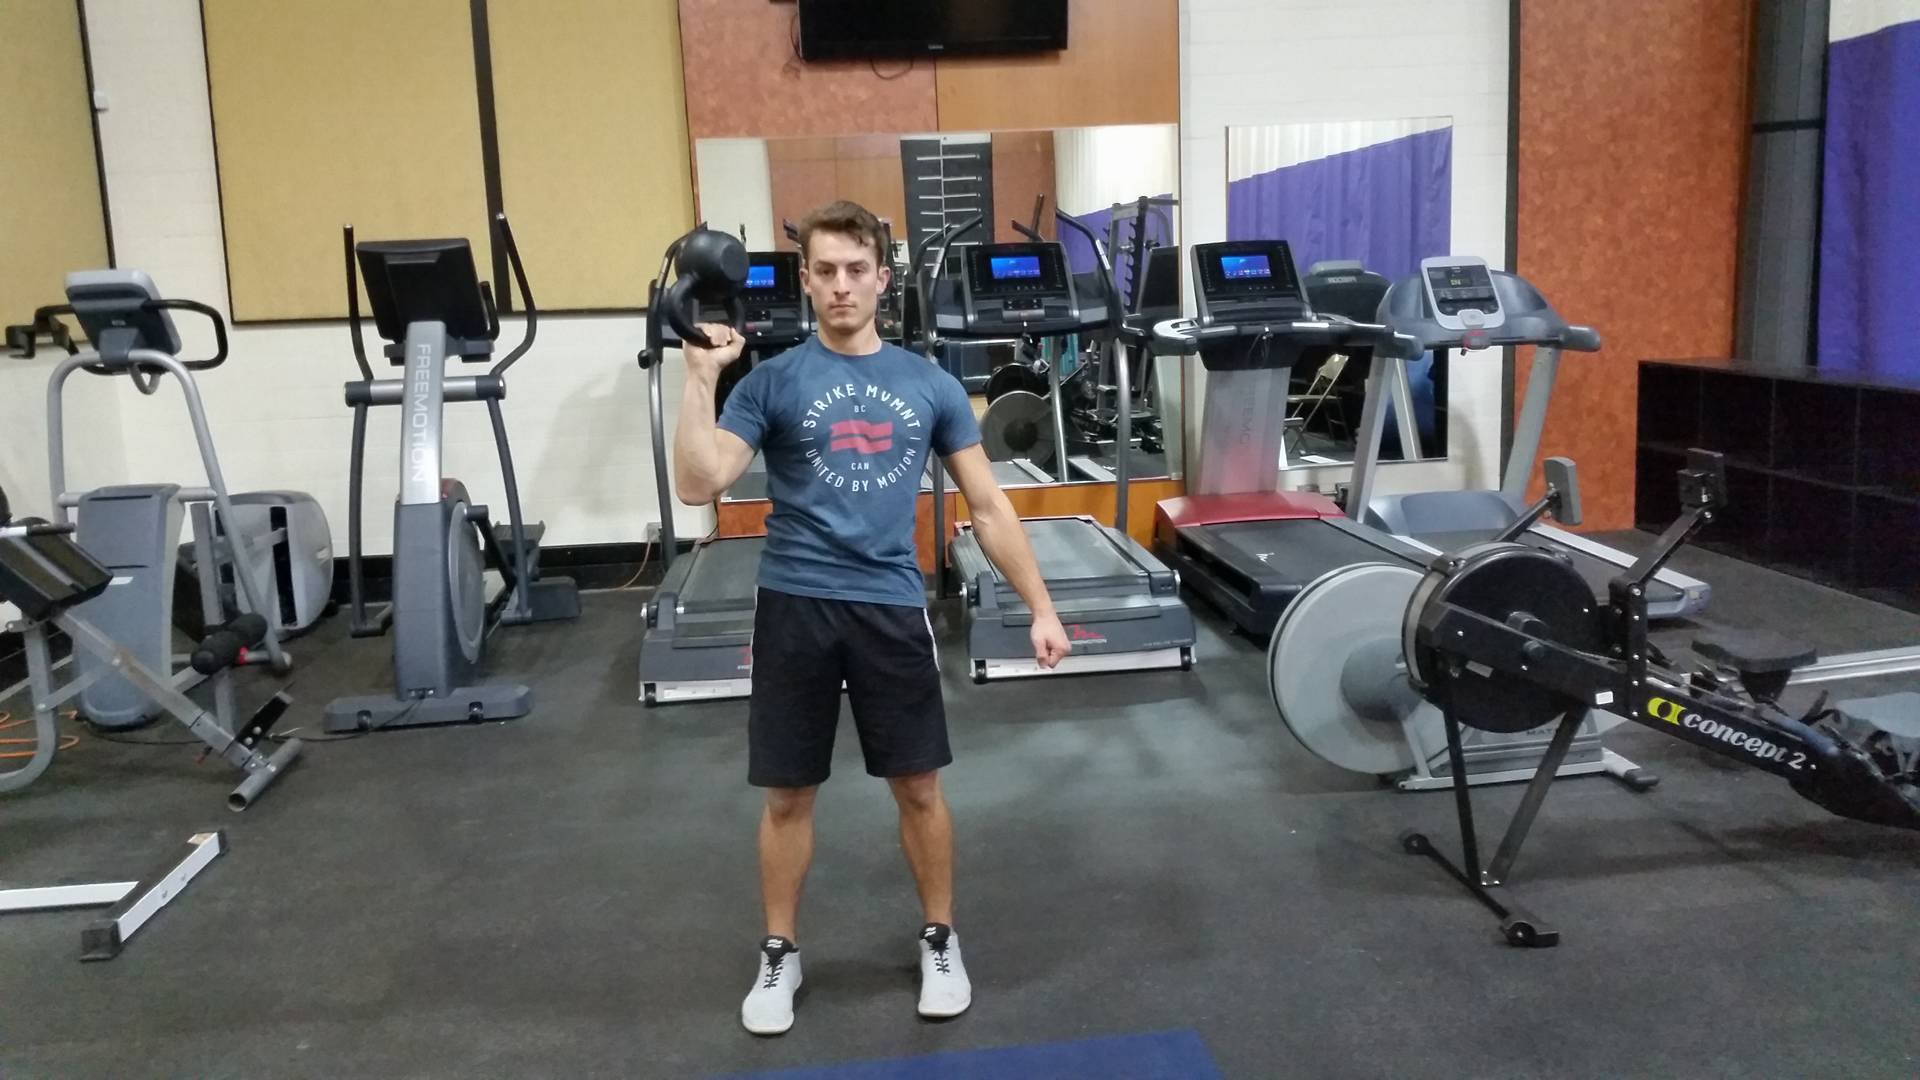
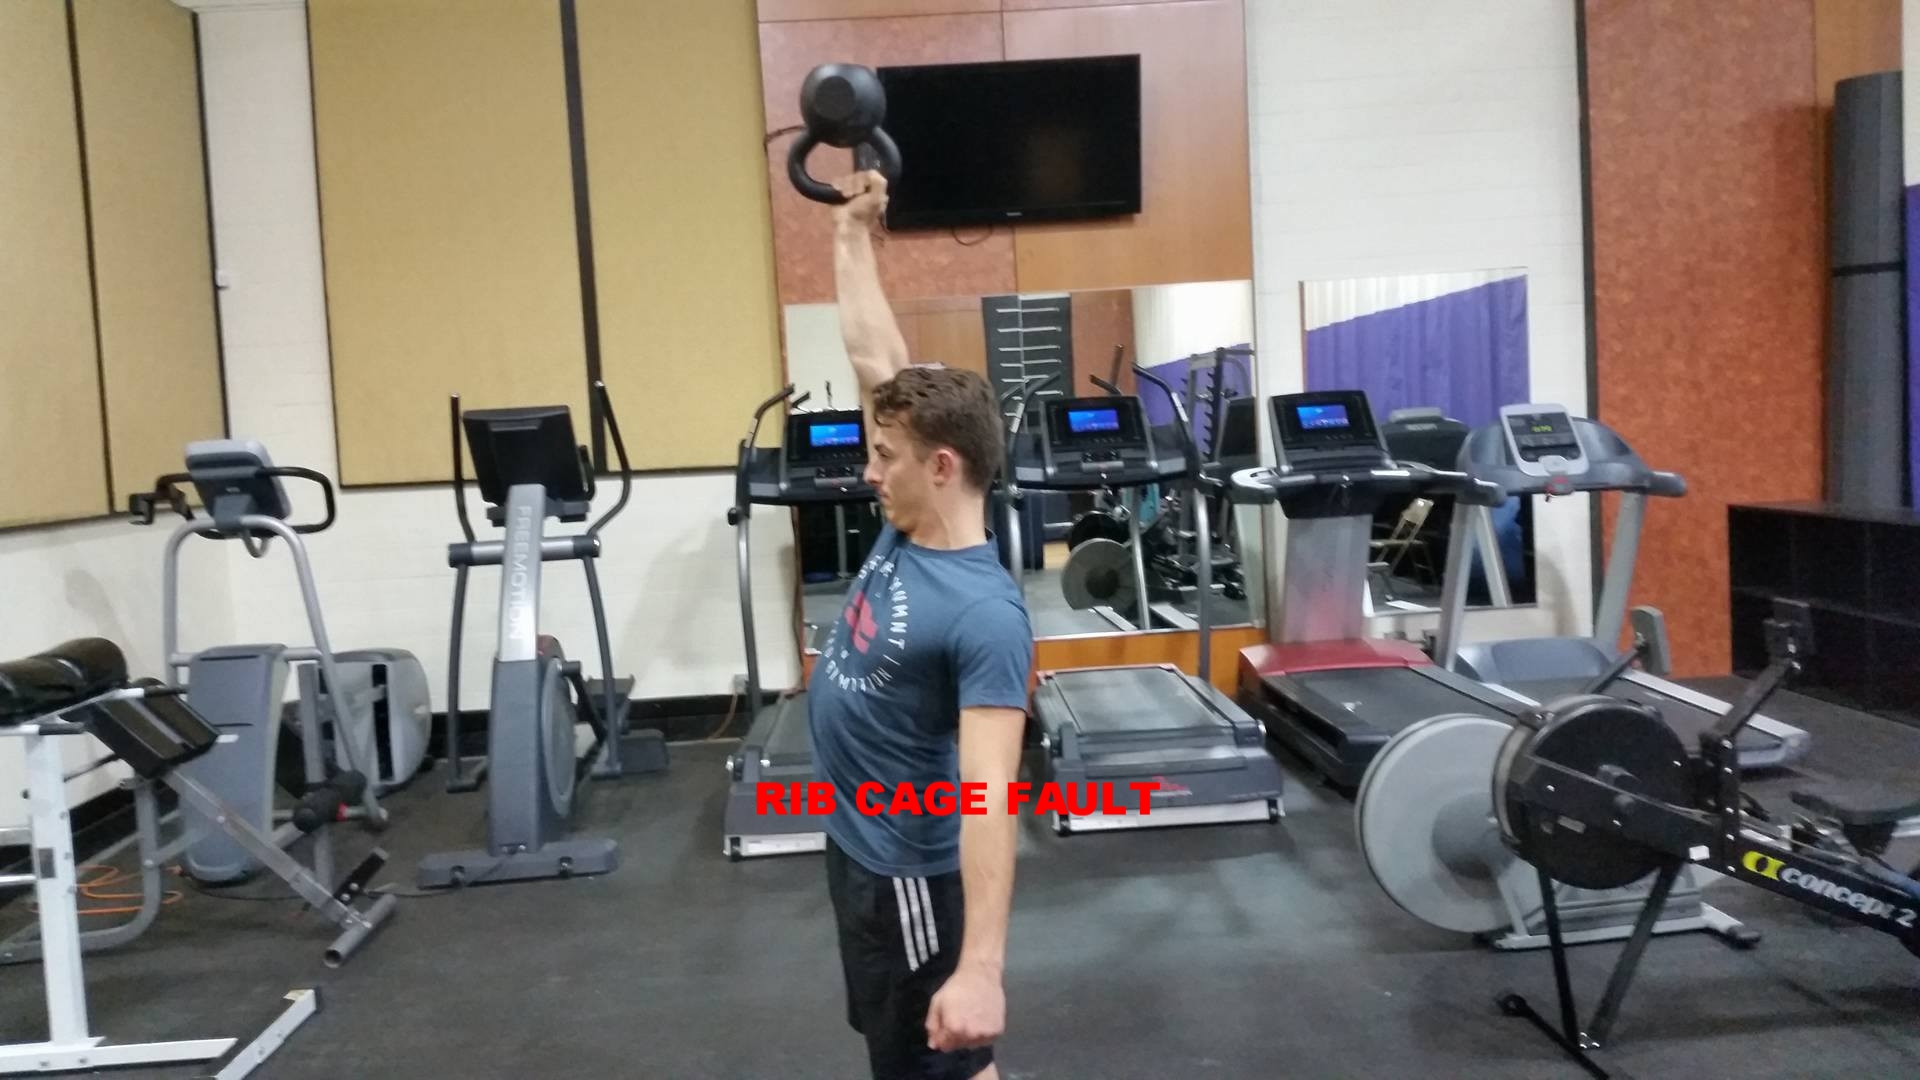
Bottom Up KB Press
By far my favourite shoulder Prehab/Rehab movement. It humbles even the strongest among us. Unlike your typical shoulder press, the Bottom Up KB Press requires a lot of shoulder stability. Strength is almost never the issue here.
START WITH A MODEST WEIGHT. You may be surprised how hard it is to press even a light KB. I recommend starting with a weight you can hit minimum 20 reps of a regular press with modest effort.
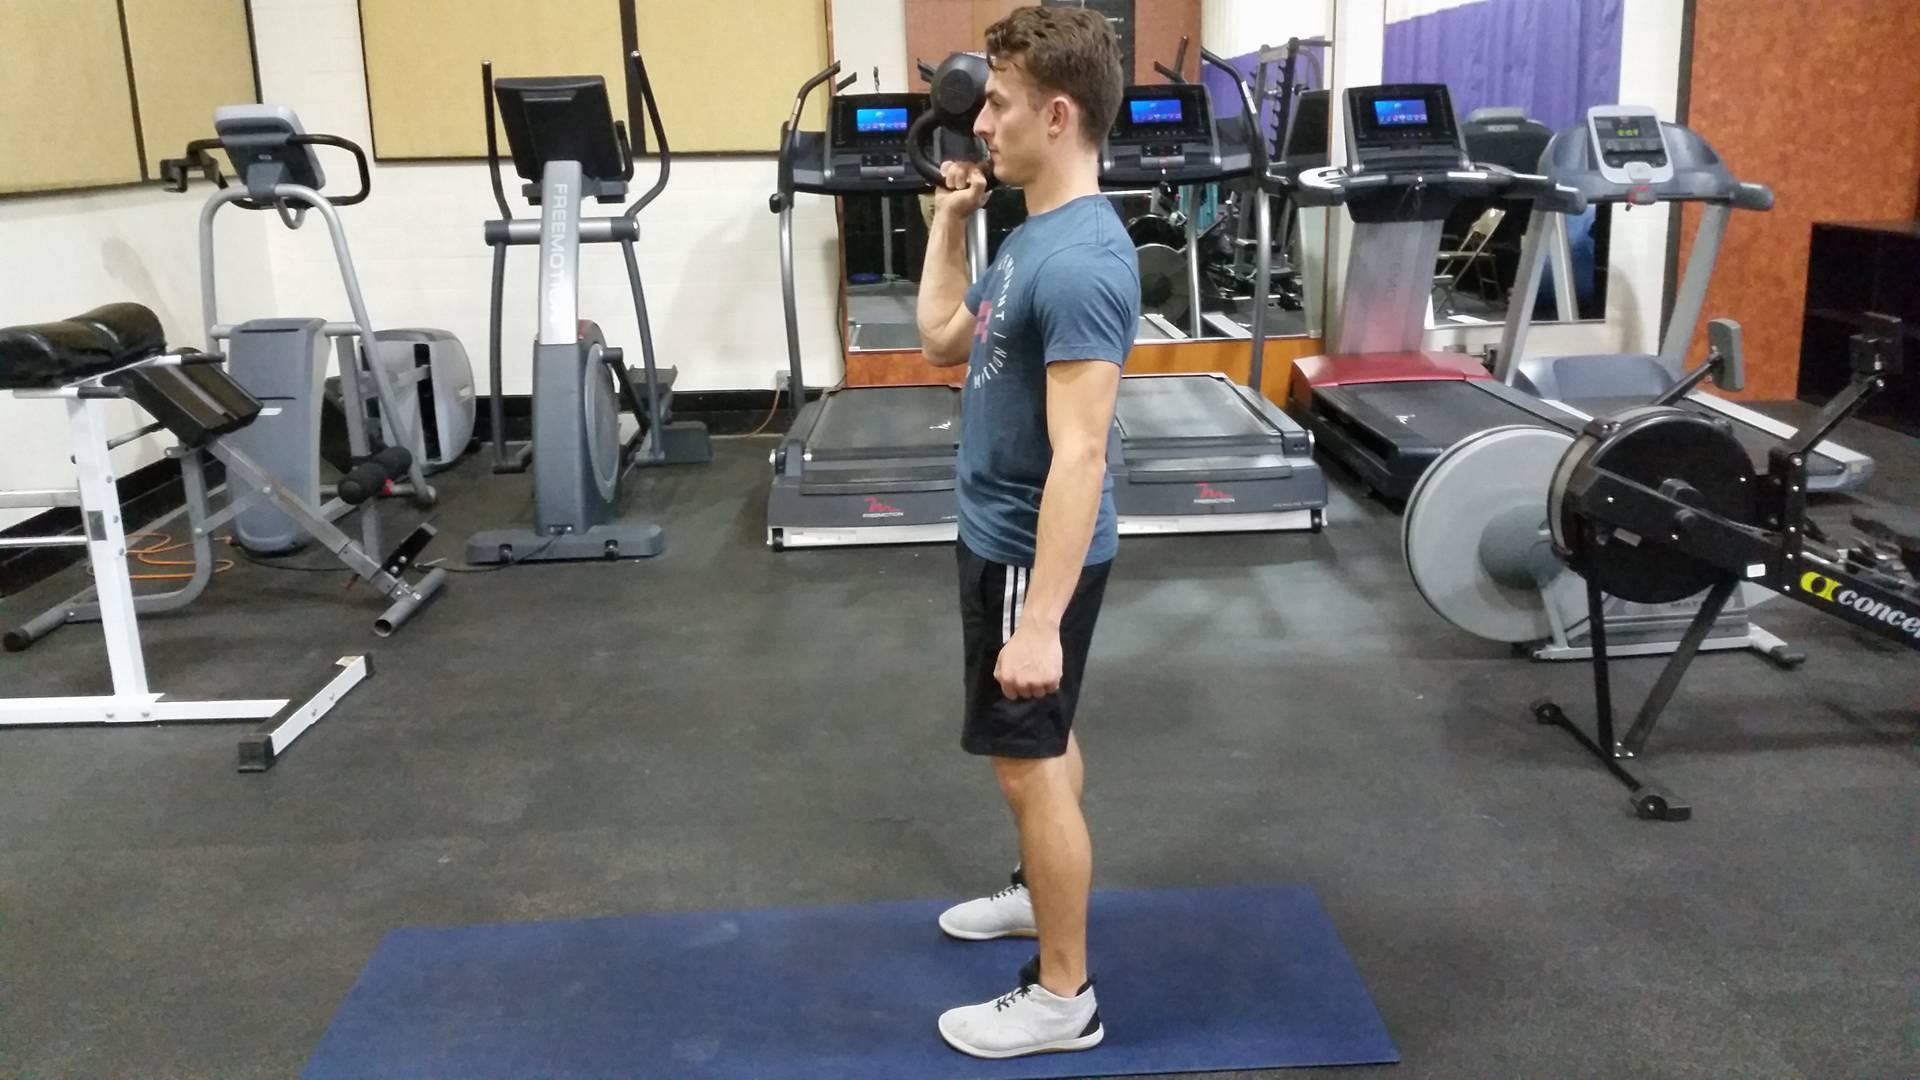
Grip the kettlebell upside down, standing shoulder width apart.
Brace.
Clean the kettlebell into a Bottoms-Up Front Rack position, or use your other hand to get the KB into position.
Keep your elbow pointing about 45-degrees out from midline
Press overhead.
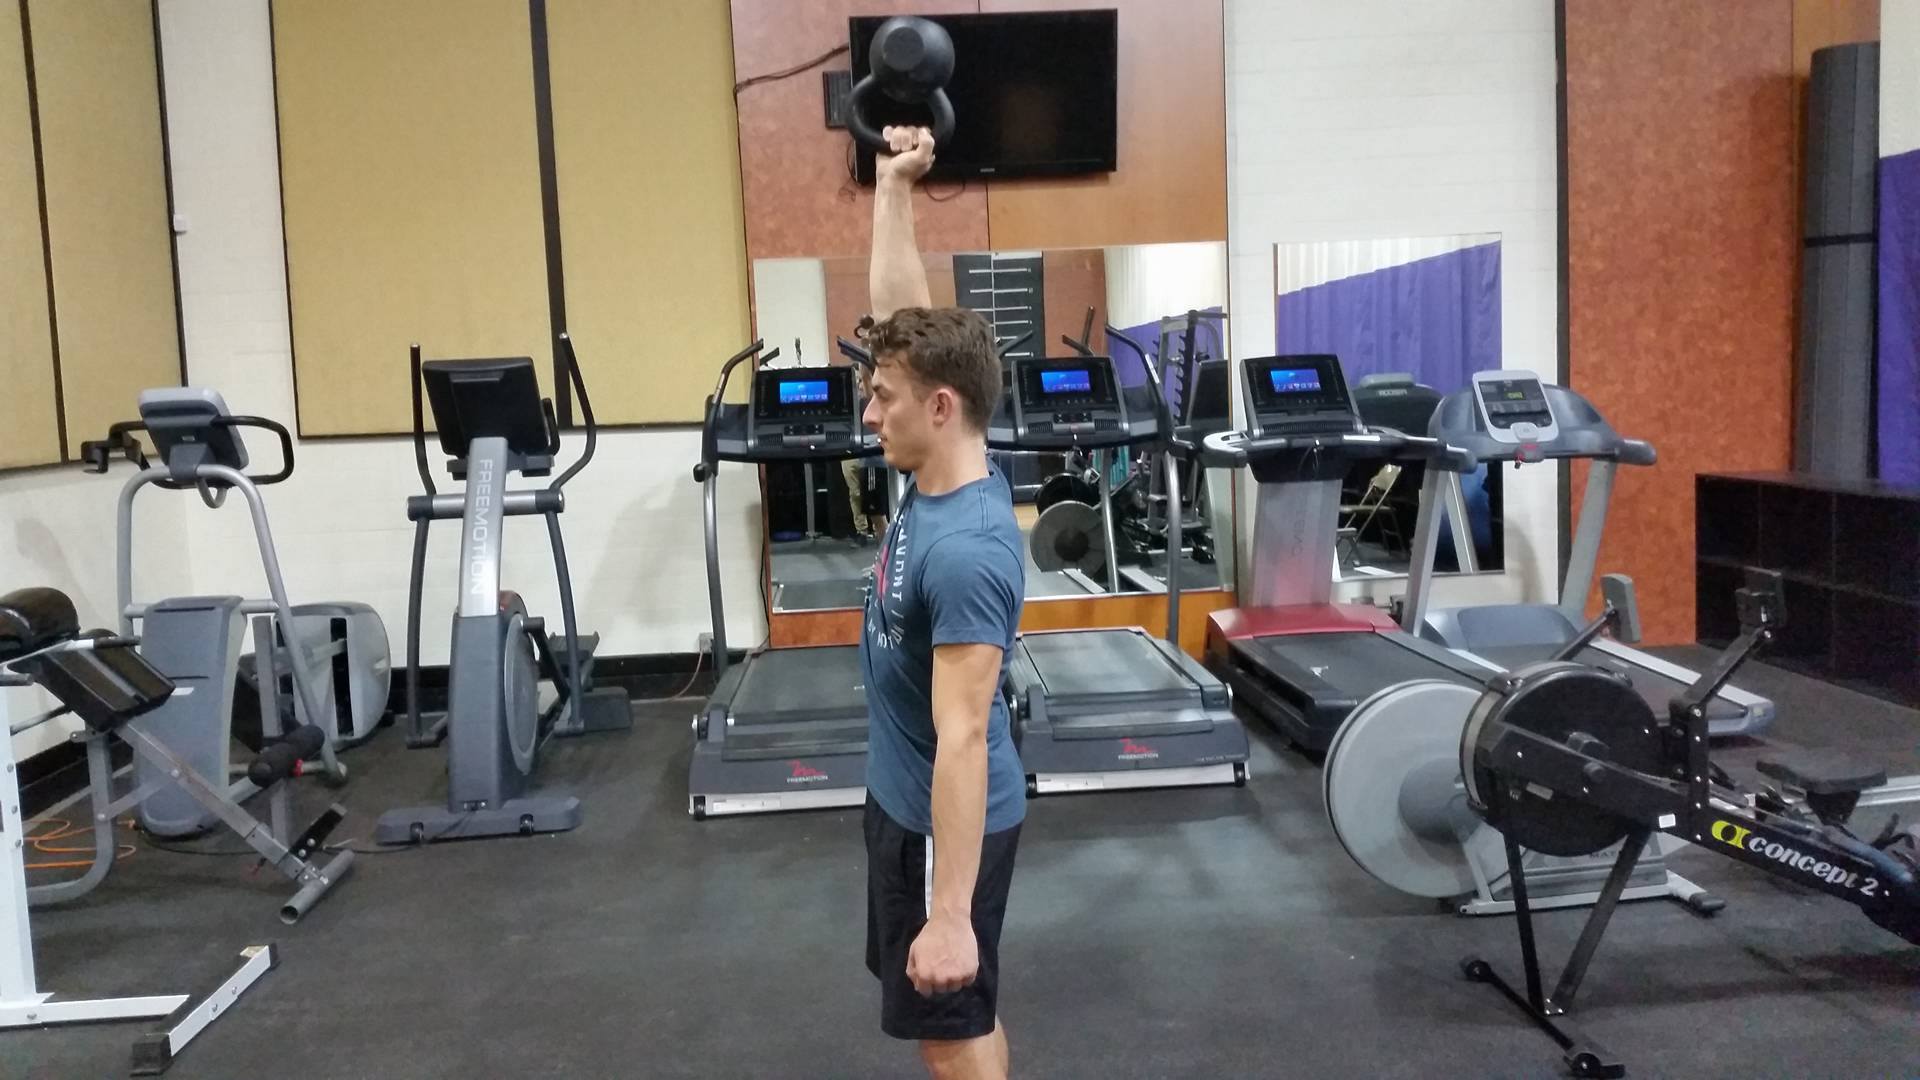
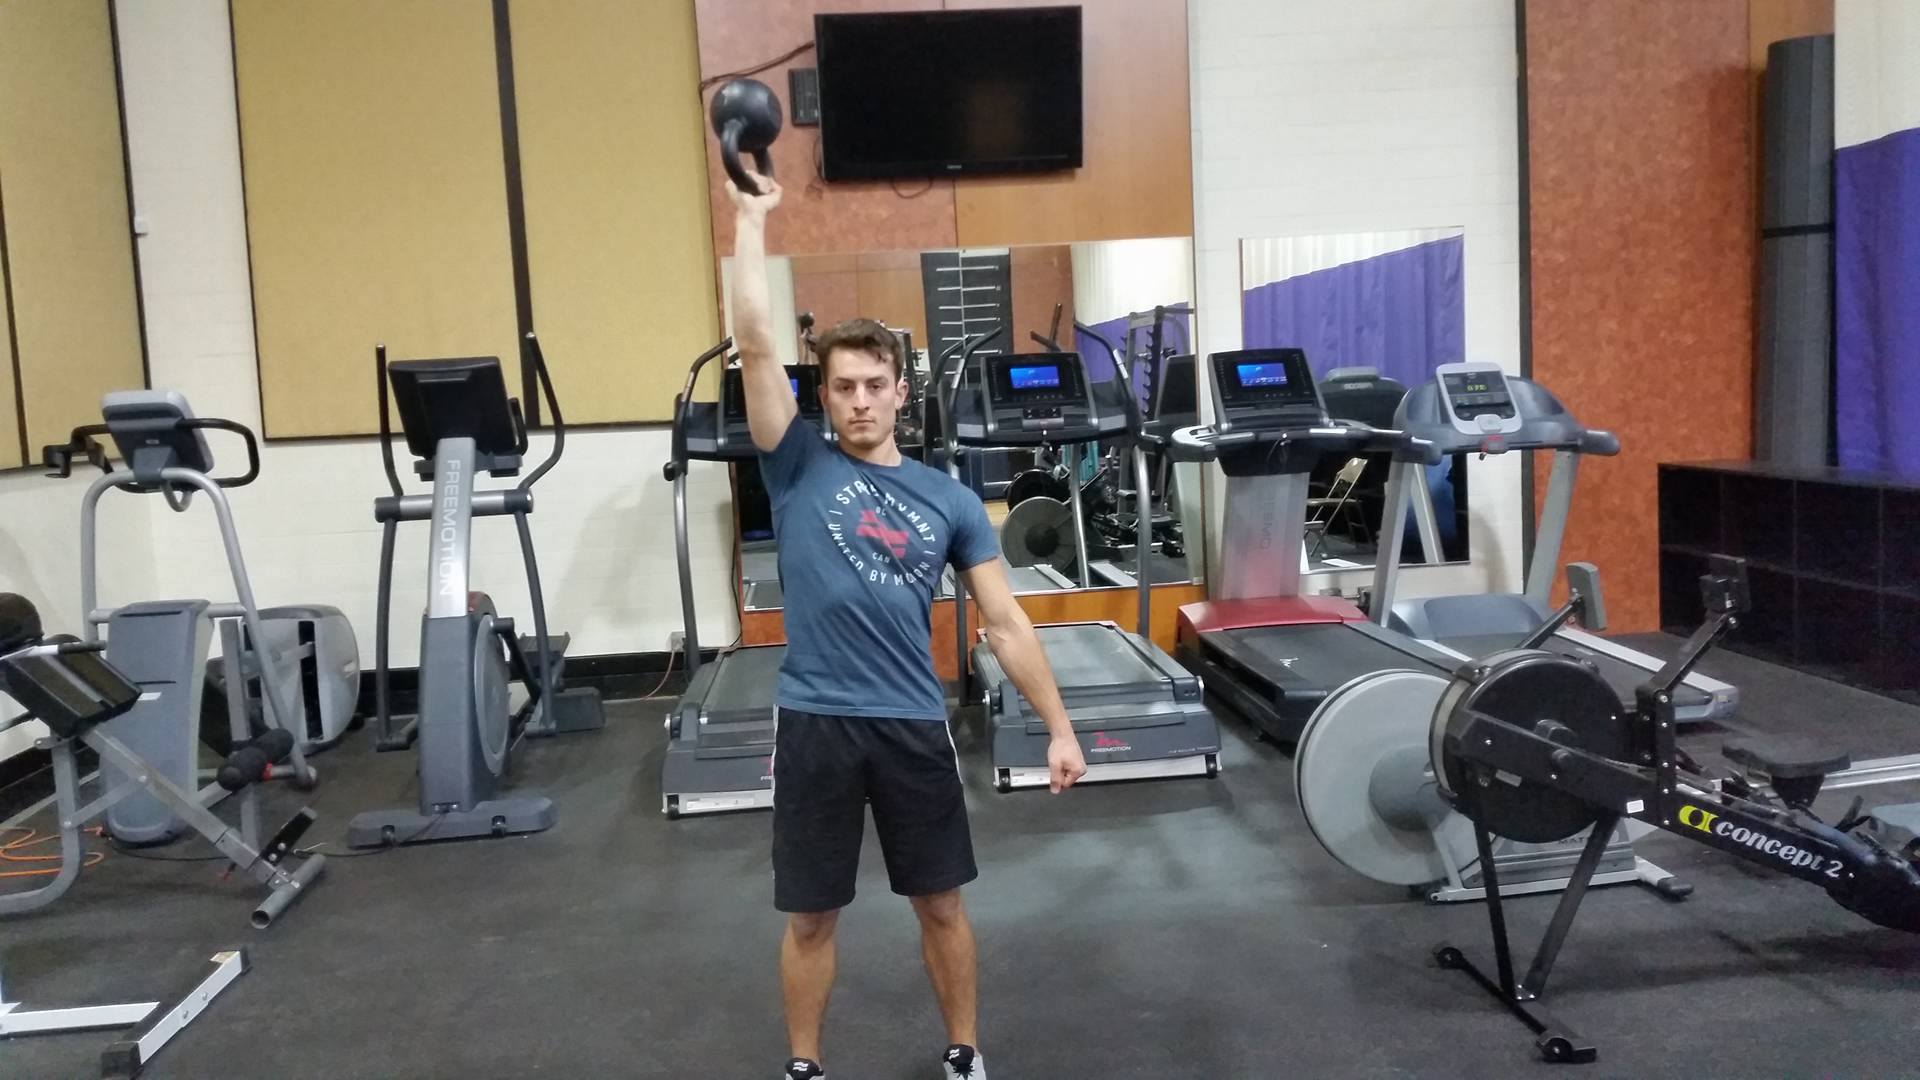
CAUTION: chances are good that the KB will fall. Be prepared for it. Make sure you are practicing in an area with adequate space where you can ensure your safety and the safety of your gym-mates. If/when the KB falls, you can either allow the KB to fall into a normal racked position or catch it in the bottom of a swing (similar to an American style KB swing). When in doubt, ditch the weight. Better to wreck a KB than your shoulder.
Don't forget the 7.
While these above exercises are great, alone they do not create a well-rounded, all encompassing program. You still need to be moving through the 7 Fundamental Movement Patterns on a regular basis.
Let me make one thing clear: we can't always prevent injuries. What we CAN do is increase our resilience by applying functional strategies to our training regimen. If you learn how to use your shoulder properly or spare your back from stress, chances are better that you are going to avoid unnecessary injuries.
Nothing guarantees an injury free career, just like your body armor doesn't guarantee protection from harm. But you can definitely reduce your chances.
Save the days off work for vacation, not rehab. I prefer a night of bourbon over a back injury.
Thanks for reading.
- Mark